Denoising
todo - need to scale downsampling to 540p
Table of contents
- Denoising
Super Sample Downscaling Denoising
A technique first covered back in October 2014.
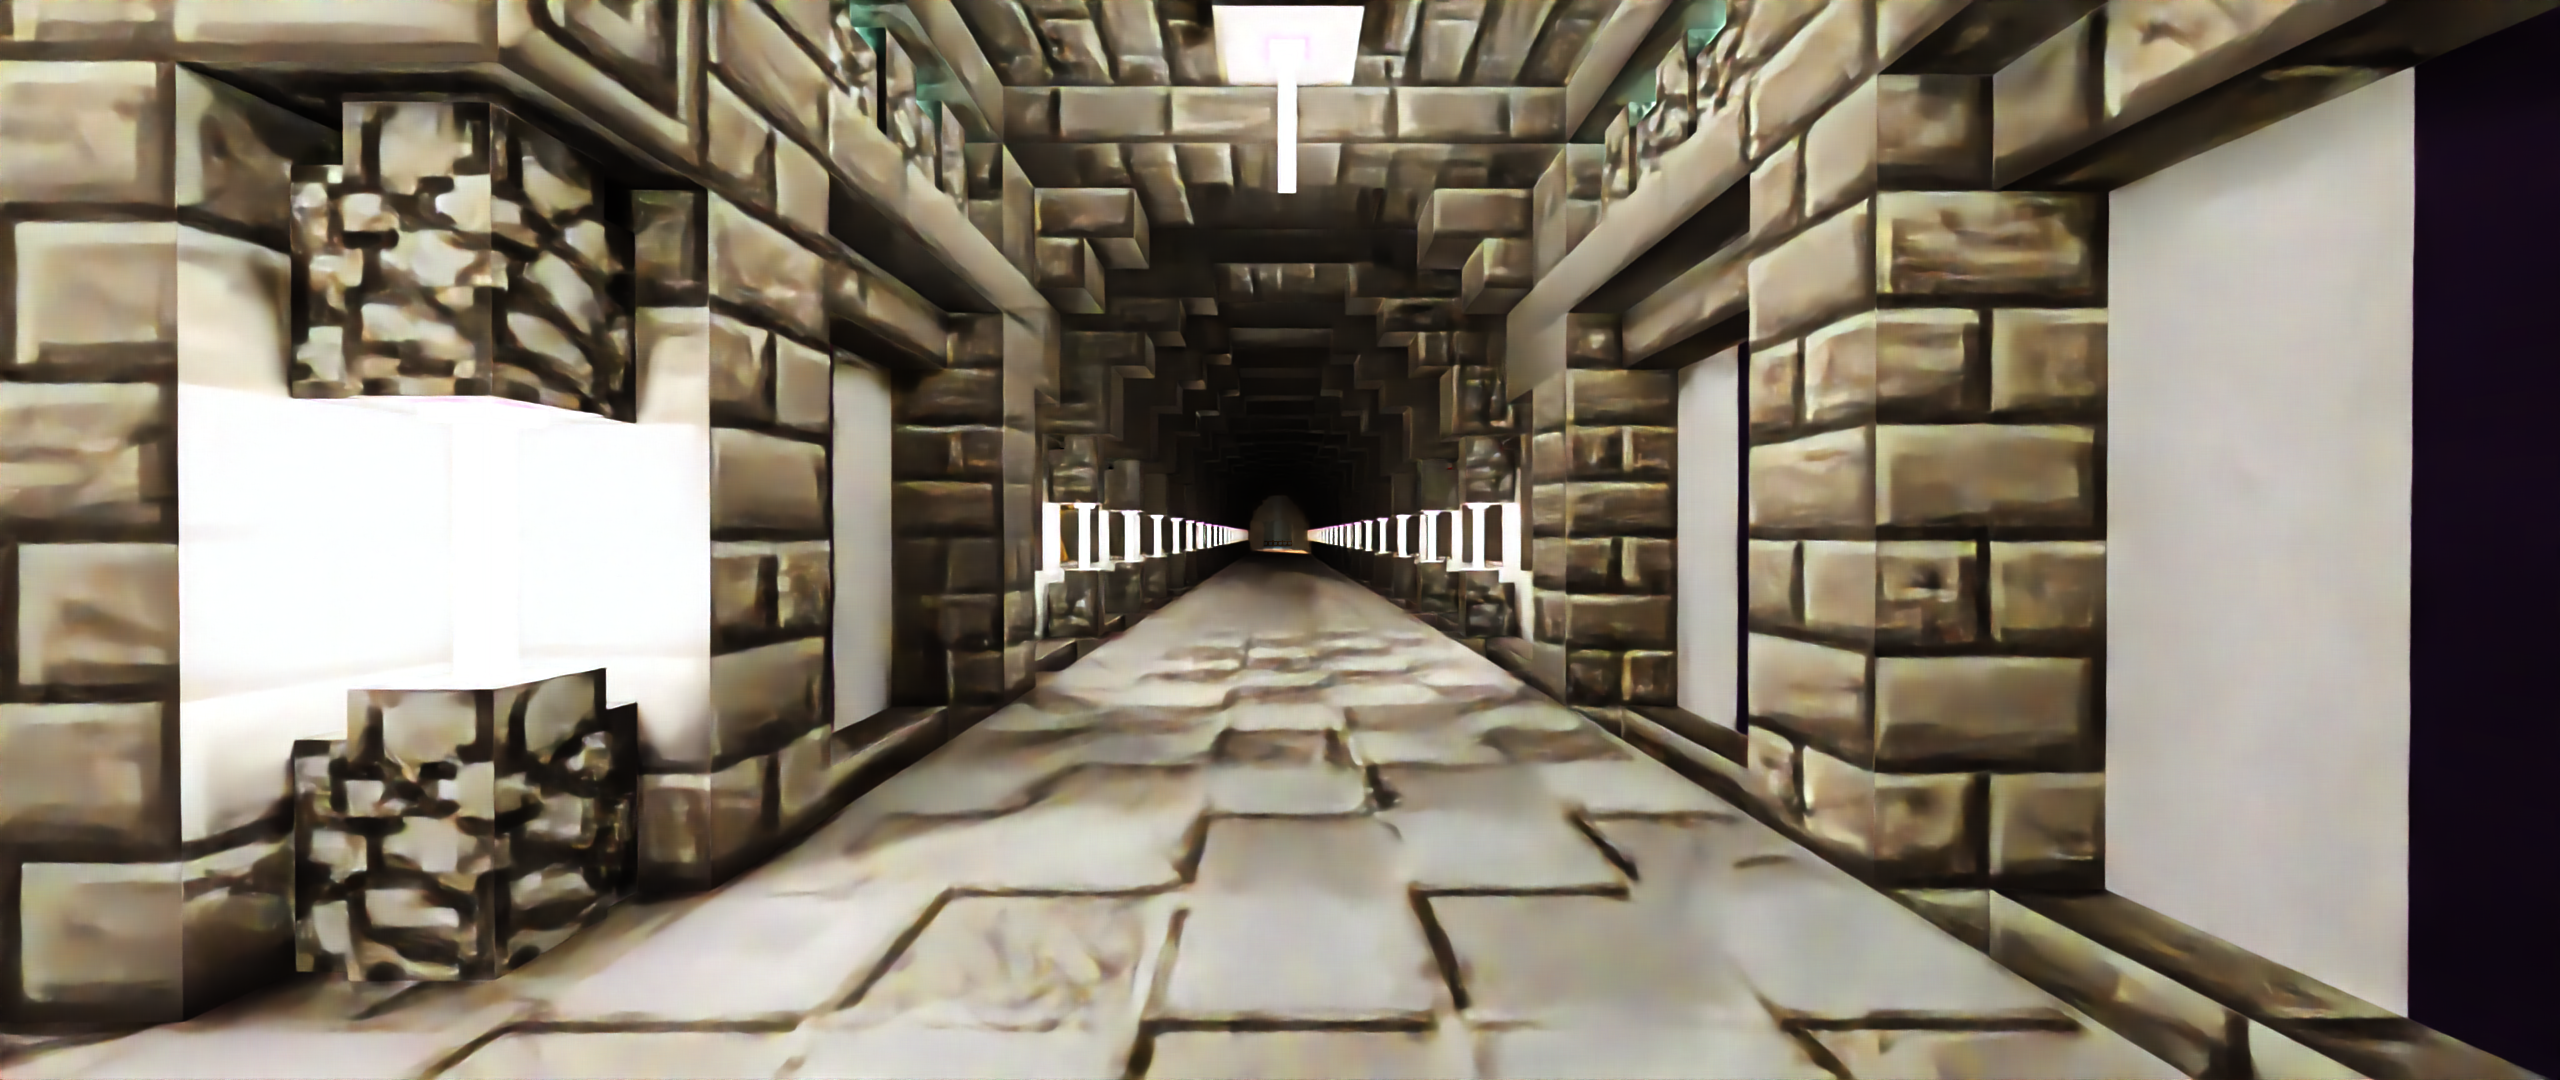
The basic premise is to render a scene at a higher than target resolution, apply a Gaussian blur to the whole image, and then scale it down to the target resolution. In any case it is assumed you render the scene for the same duration. Generally this means that a scene at say 1920x1080 with a target of 1024 SPP could be rendered at 3840x2160 at 256 SPP- These should take the same amount of time to render and the 2160p image would have perceptually less noise than the same scene rendered natively at 1080p.
The noise is still present but given the higher resolution each pixel of noise takes up less screen space compared to the “noiseless” data from the sun/sky. Blurring and scaling to target resolution should result in better results than rendering at native resolution.
Increasing the canvas resolution does increase memory consumption.
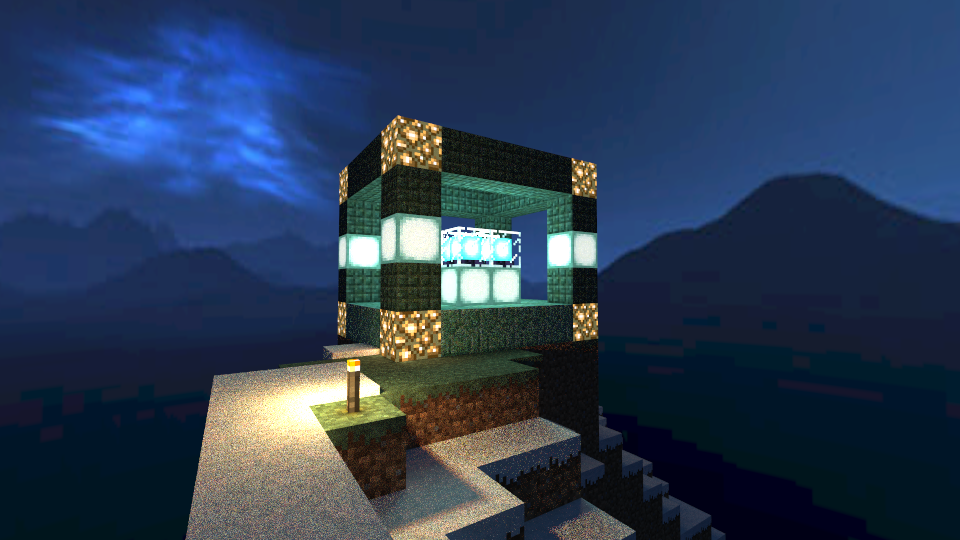
Original examples
540p Native
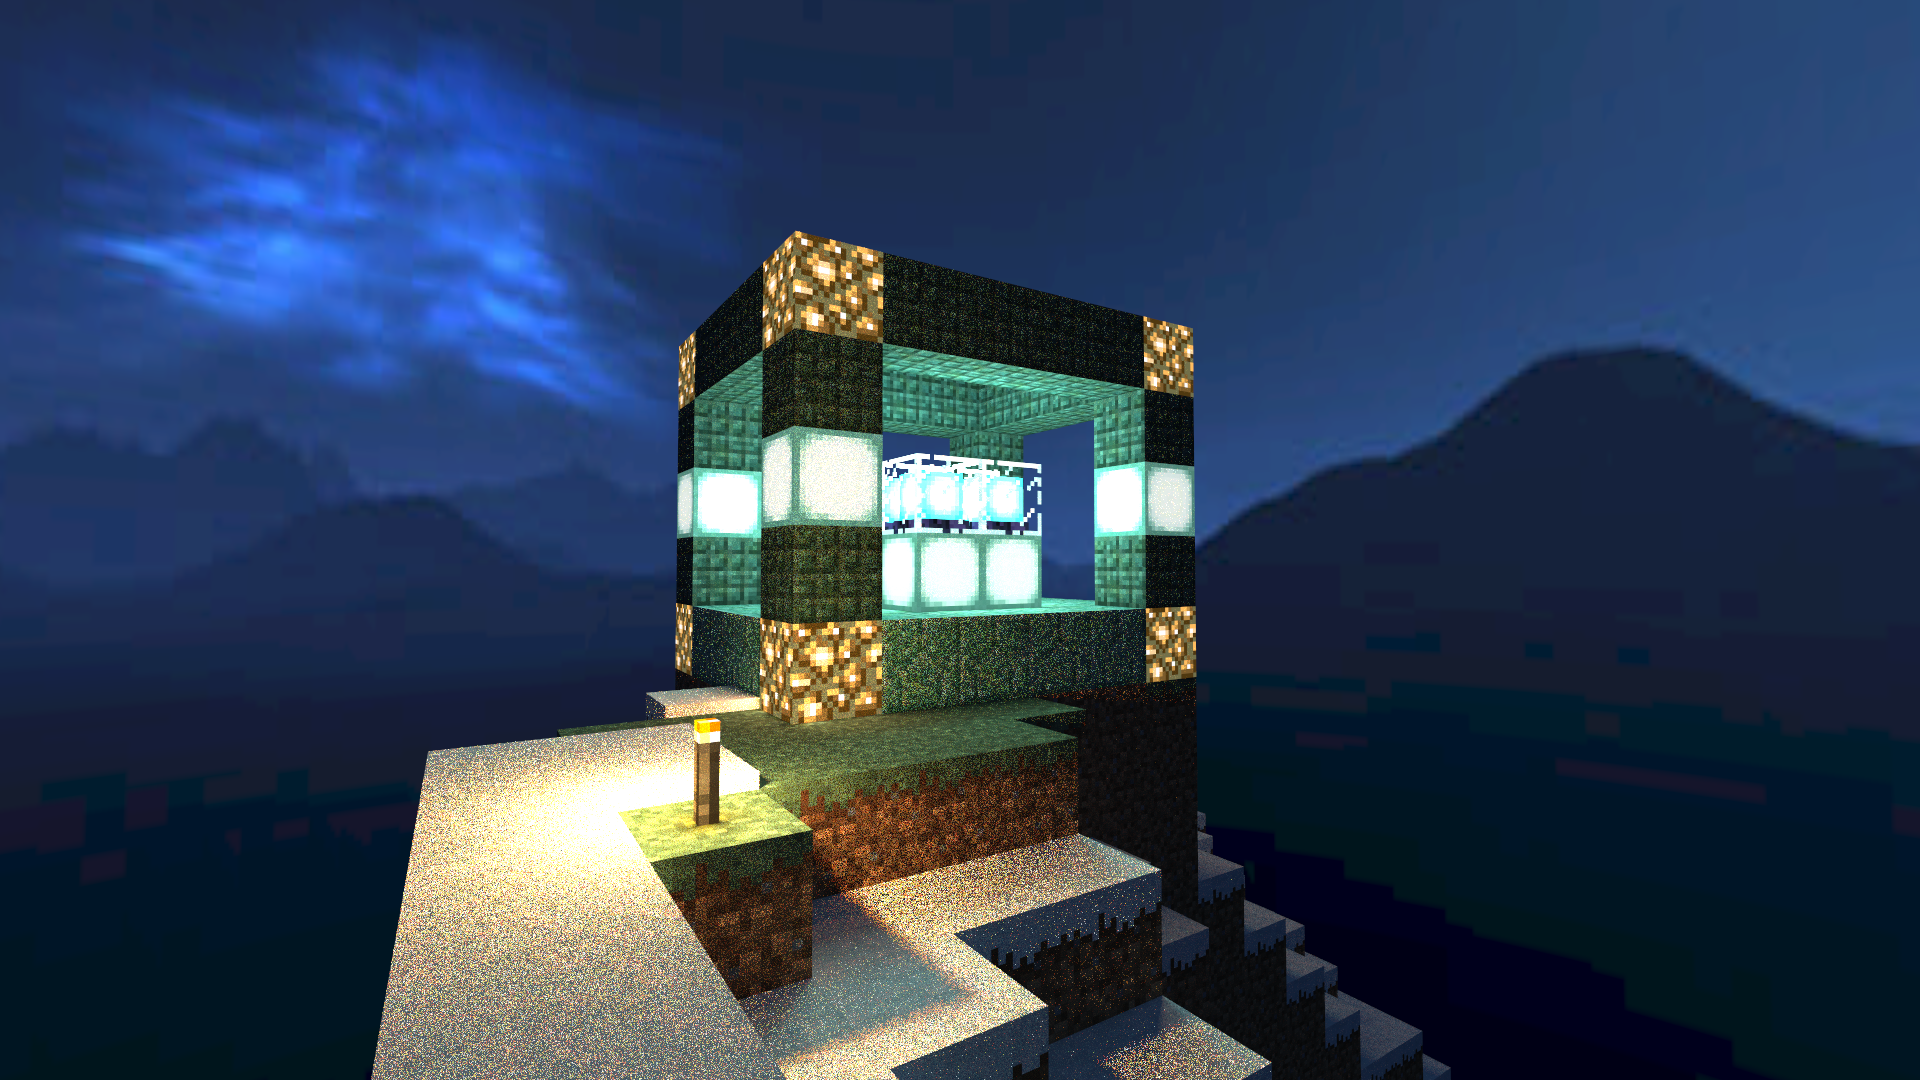
1080p (2x supersampling)
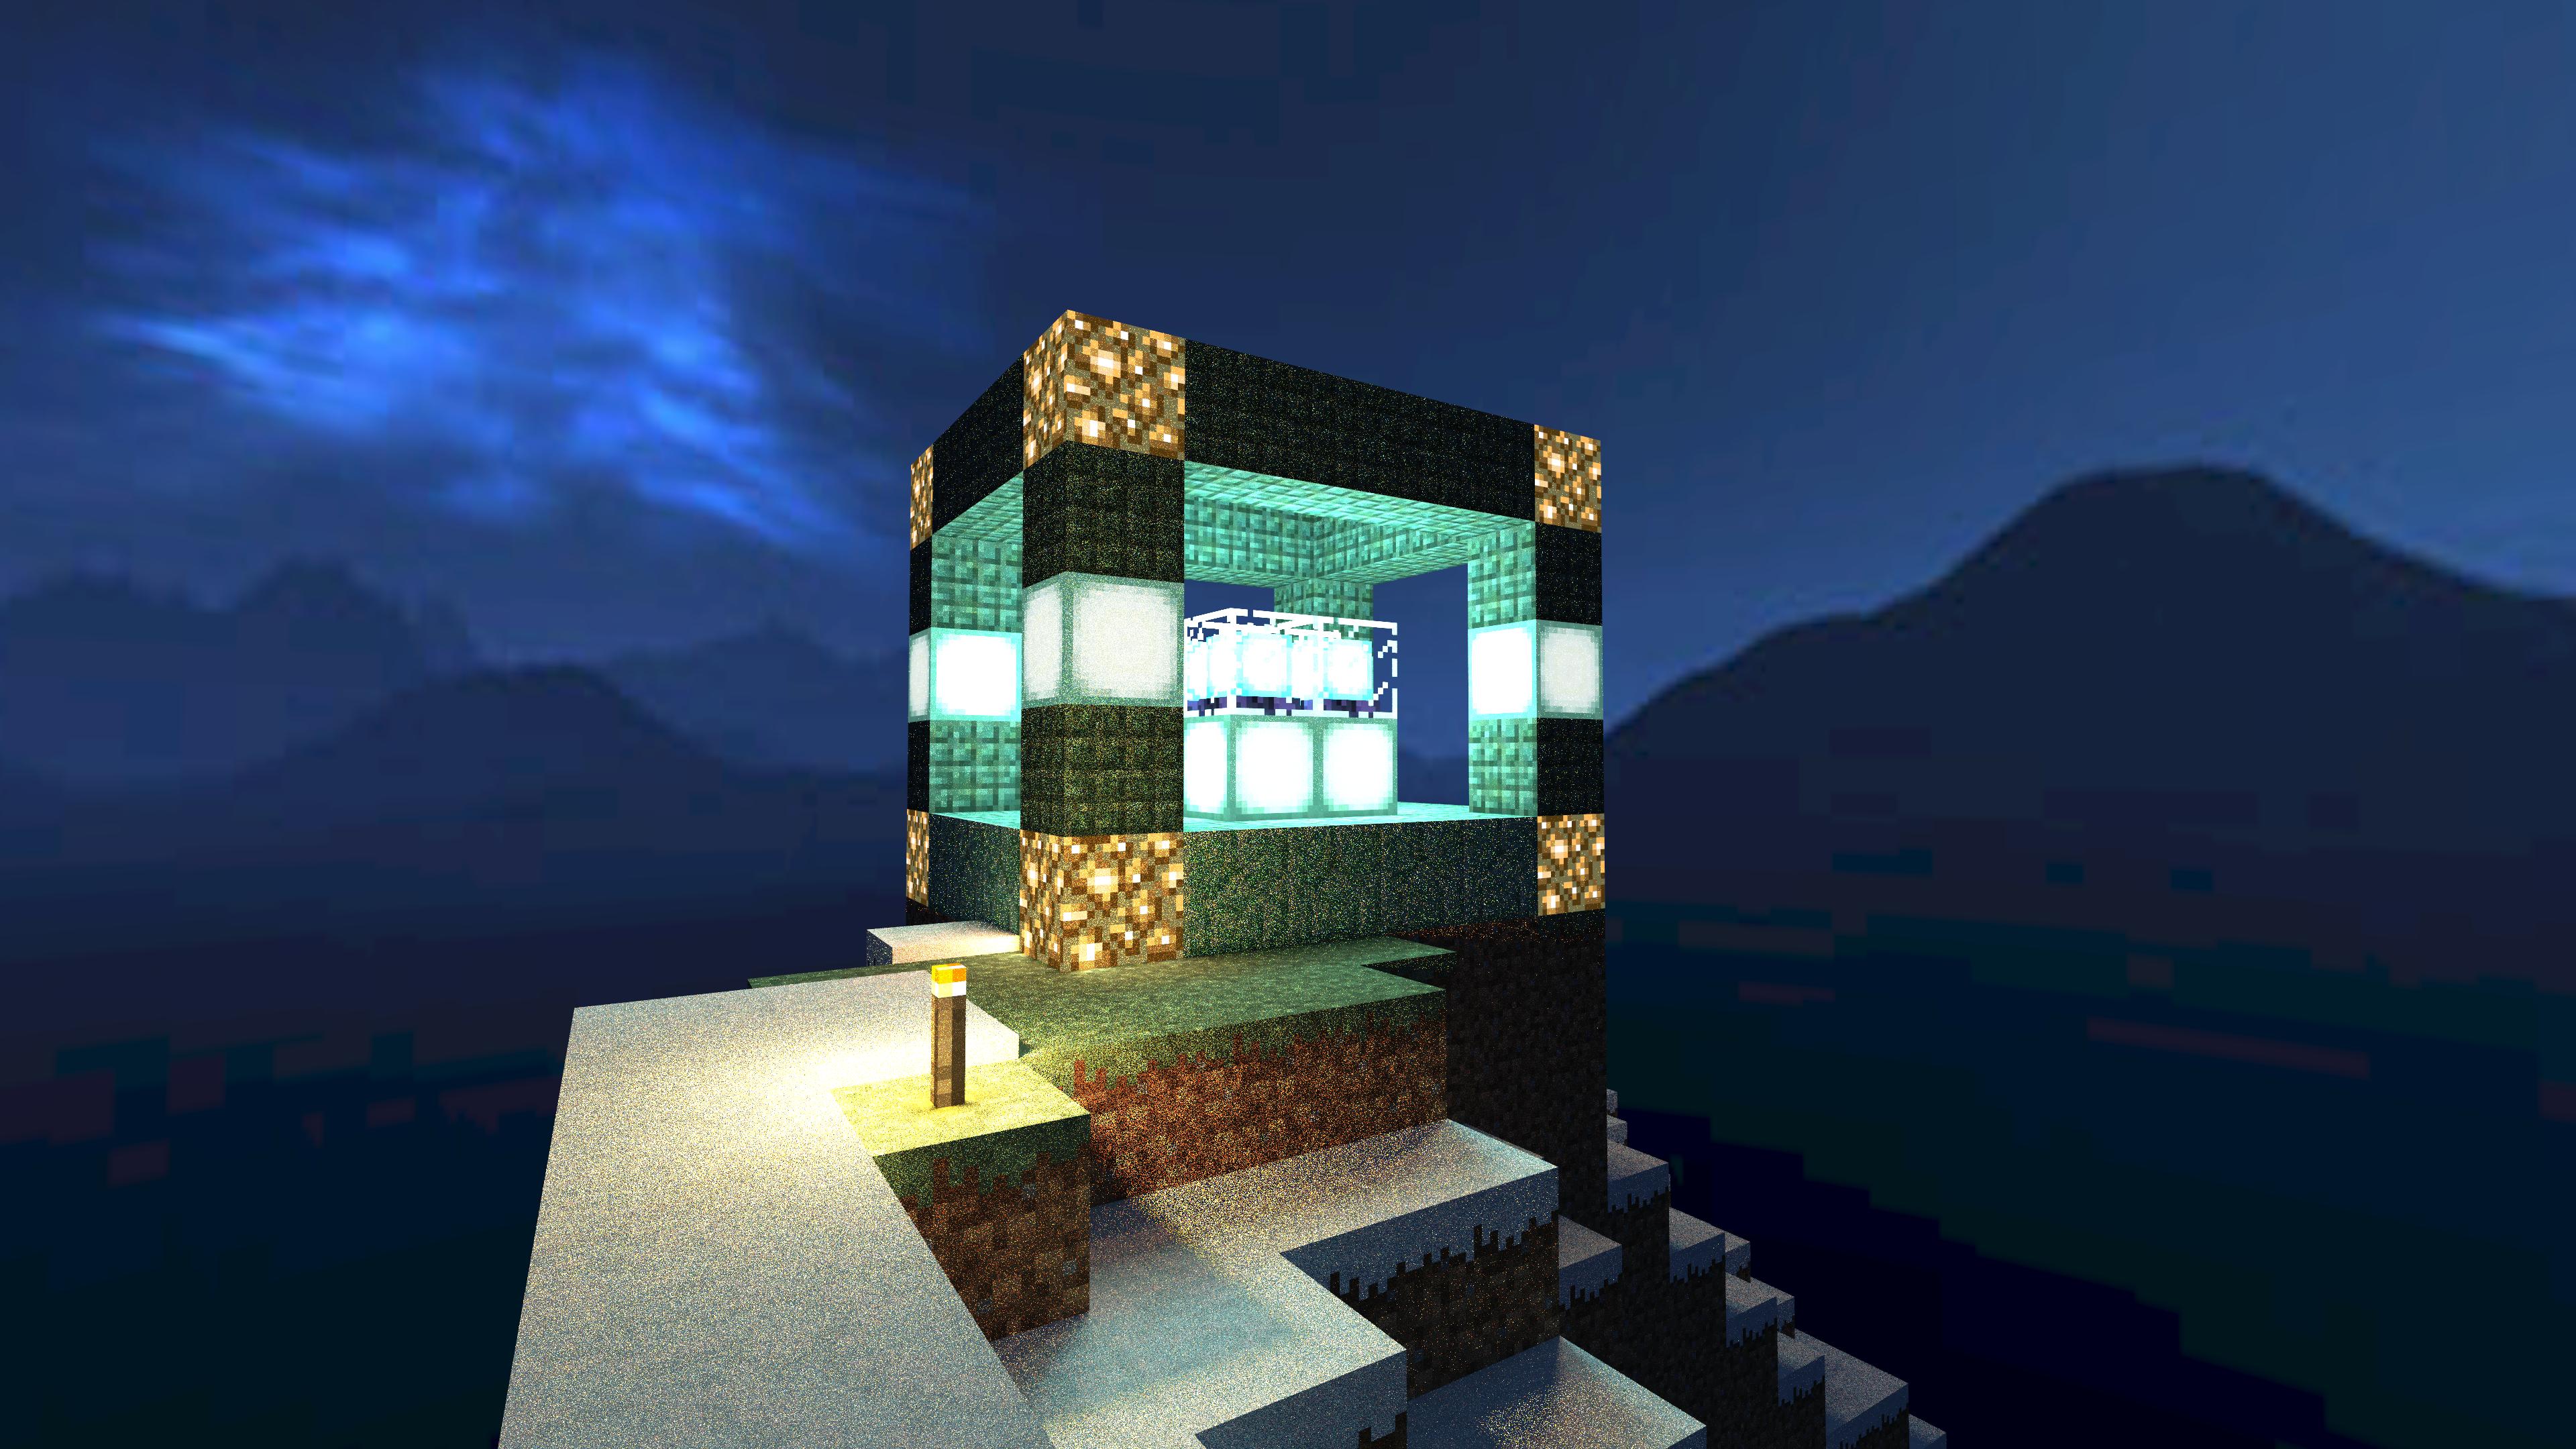
2160p (4x supersampling)
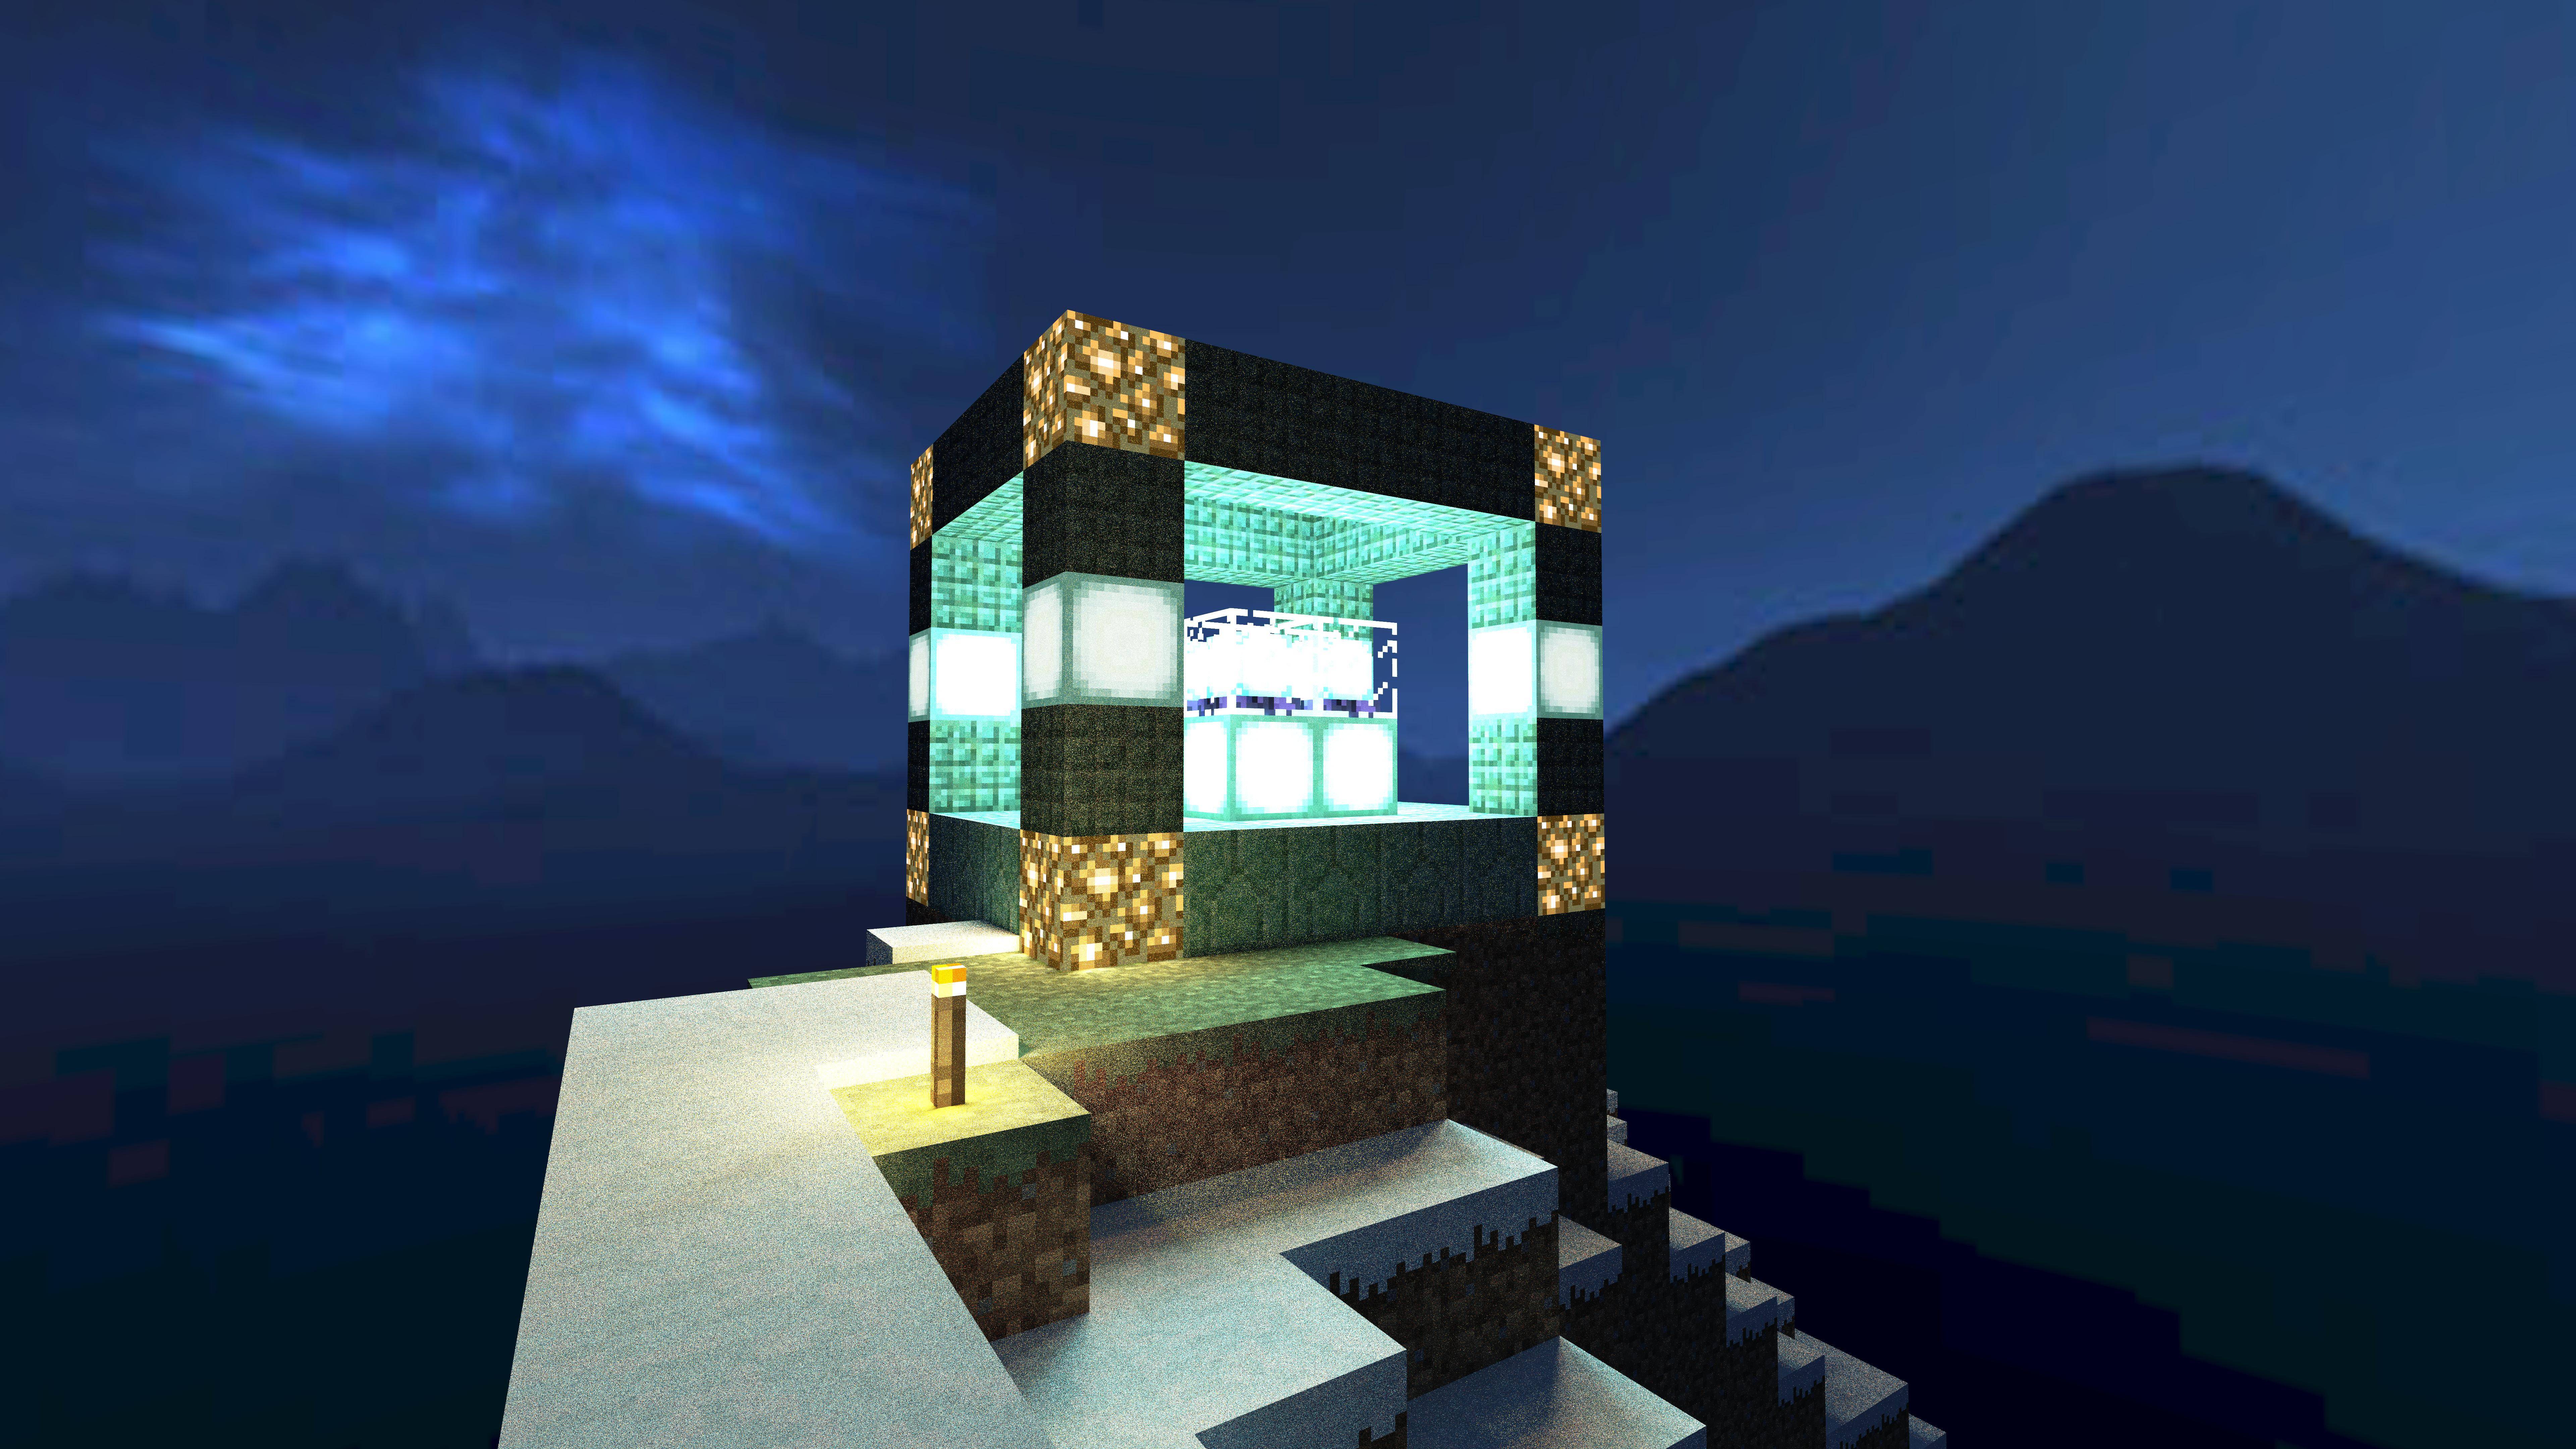
4320p (8x supersampling)
Split Pass Denoising
An approach llbit showcased in September 2015.
By rendering the scene twice, first with a “Sunlight Pass” to 200 SPP and then a “Raw Emitter Pass” to 400 SPP. The noisy emitter pass could then be filtered with a Selective Gaussian Blur in GIMP and then combined. Comparing a typical 400 SPP Sunlight + Raw Emitter image to the Sunlight + Filtered Emitter image it was seen that the lighting was softer and there was less noticeable noise.
The different lighting passes can be setup through the Lighting and the Sky & Fog tabs. For a Sunlight pass you would simply need to disable emitters. For an Emitter pass things are a bit more complex: Enable emitters (if not done), disable sunlight, and Sky mode: black OR enable transparent sky.
llbit’s example
Sunlight pass at 200 SPP
Emitter pass at 400 SPP
Filtered emitter pass

Sunlight + filtered emitter pass

Same scene rendered at 400 SPP
Multi-plane
A technique which I never released; Covers rendering a scene with a clear and distinct fore and background elements. By rendering the complete scene with emitters at 0.01, emitters would light up but not emit visible light. This would lead to zero emitter noise in the distance. Meaning lower SPPs could be used for this element. Foreground element should be loaded with a reduced number of chunks, to speed up rendering speed, with the chosen emittance. With a careful selection of Chunks and combination of the two elements in post a reasonable result can be achieved.
Example
Foreground selection of 76 chunks
1024 SPP @ 932k SPS - aka it’s fast
Background selection of 1877 chunks

128 SPP @ 482k SPS - aka it’s slow
Crude composite
The key issue with this technique is that the lighting information in the foreground element would not completely match the background. Further mitigations would be to instead combine this Multi-plane technique with Split Pass to further speed up rendering and retain bounce lighting from Sun/Sky present within the background pass. Using Split Pass would also mean that less effort is required to recombine the completed results.
AI Based Denoising & Plugins
First showcased by u/StaysAwakeAllWeek in Nov 2018, this was the first time an AI based denoiser was mentioned on r/Chunky. Unfortunately at the time it was limited to just Nvidia GPUs. A few months later I discovered Intel’s Open Image Denoise; an AI based denoiser that works on any CPU with SSE4.1 support.
Example
| SPP | RAW | OIDN |
|---|---|---|
| 512 | 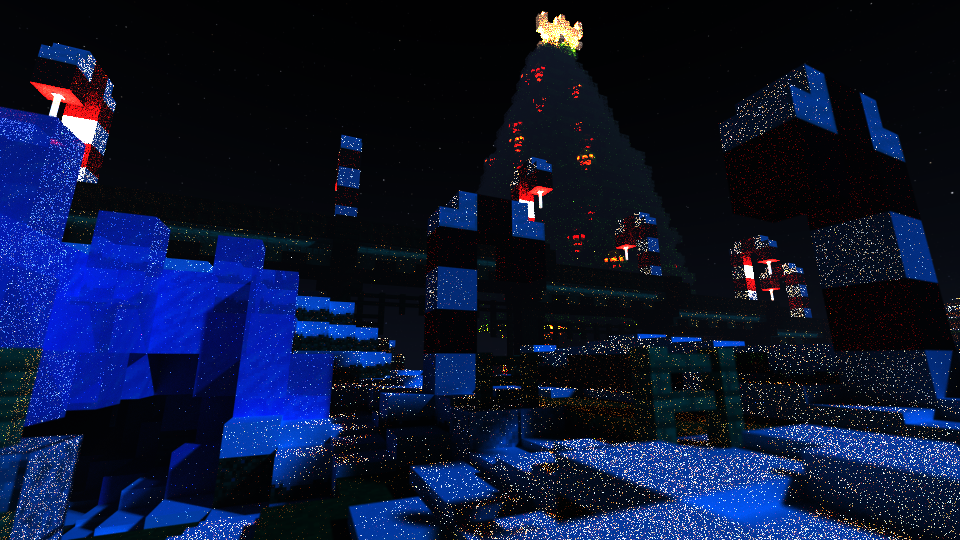 | 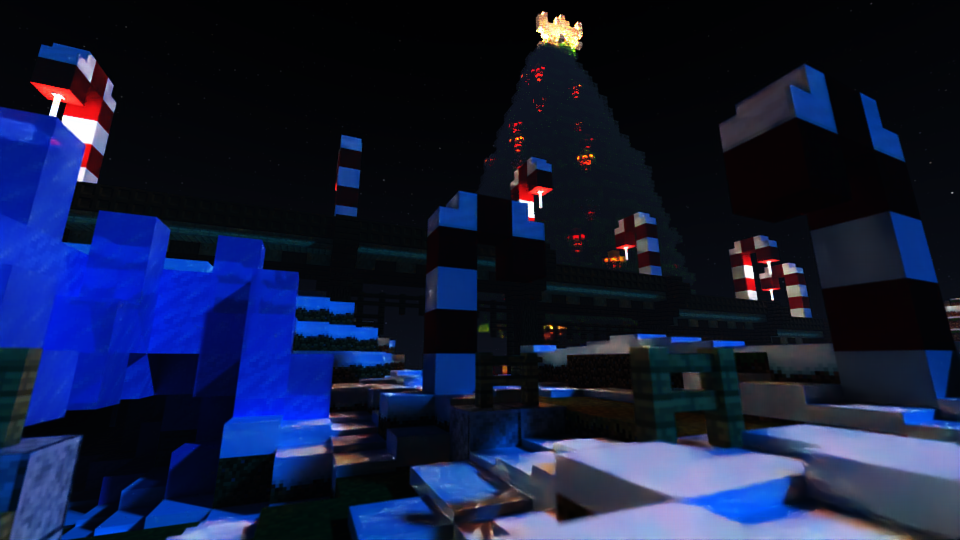 |
| 2048 |  | 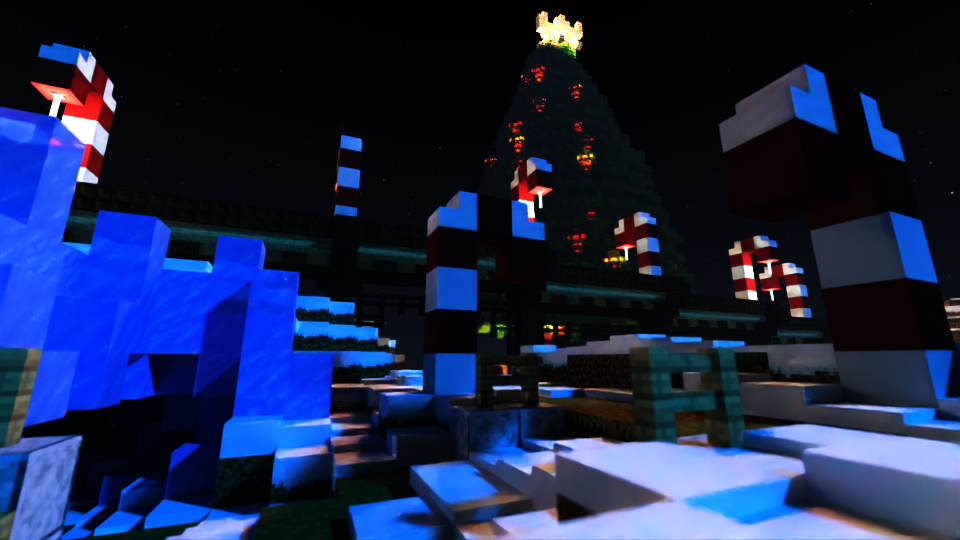 |
| 4096 |  |  |
| 8192 | 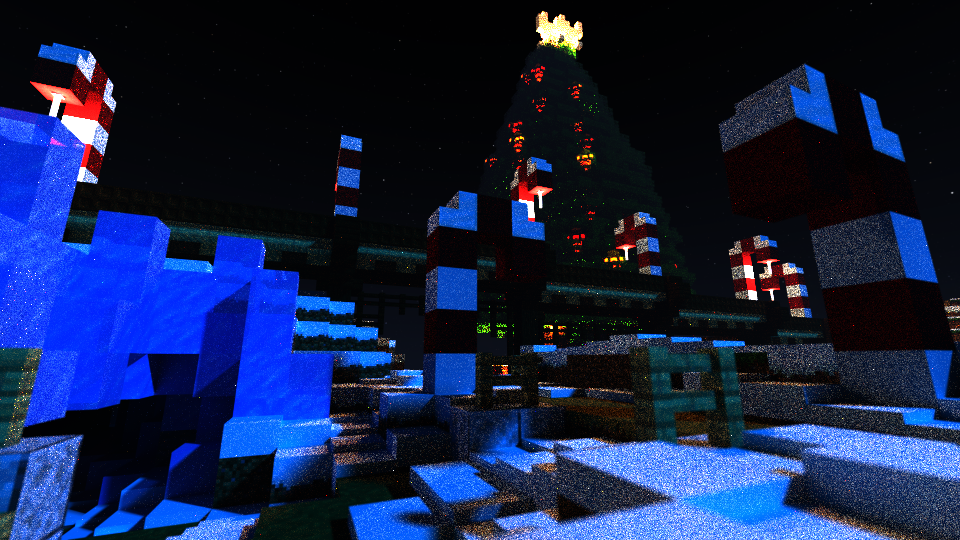 | 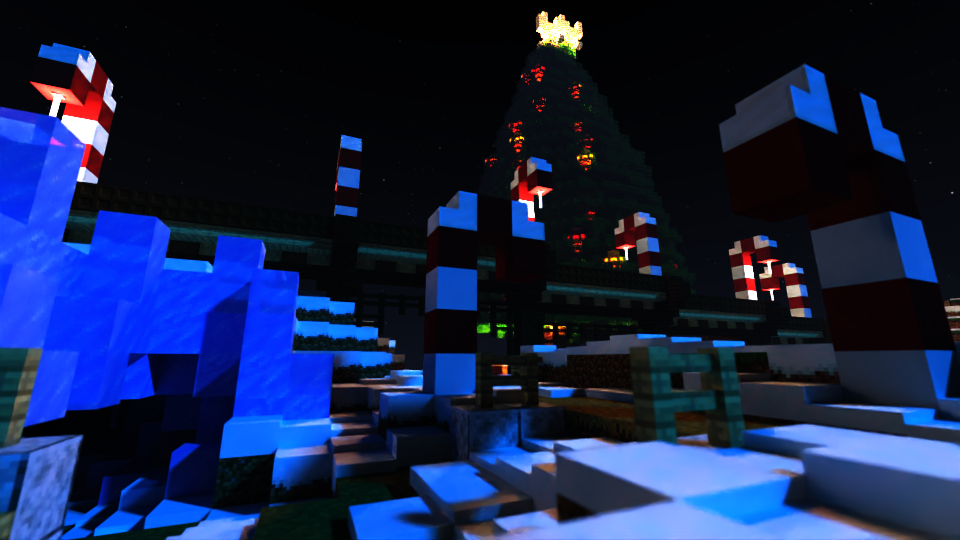 |
As some of you may have noticed while AI based denoisers work wonders there are a few issues with the outputted images. Noteworthy visual artifacts are the deformed blocks, blurred textures, and the painted effect you can often see. Below you can see an extreme case where a 32 SPP scene lit mostly by emitters was denoised.
Example of painted effect
leMaik’s Denoising Plugin
Some of these issues can be resolved or mitigated by using leMaik’s Denoising Plugin which has the ability to, not only to automatically denoise a scene once the target SPP is reached but, render auxiliary feature images / AOVs (Arbitrary Output Variables) to provide additional information to the denoiser. Unfortunately you still can’t expect the AI denoiser to work real magic; If there is too much noise you will still get a painted effect.
Albedo Map
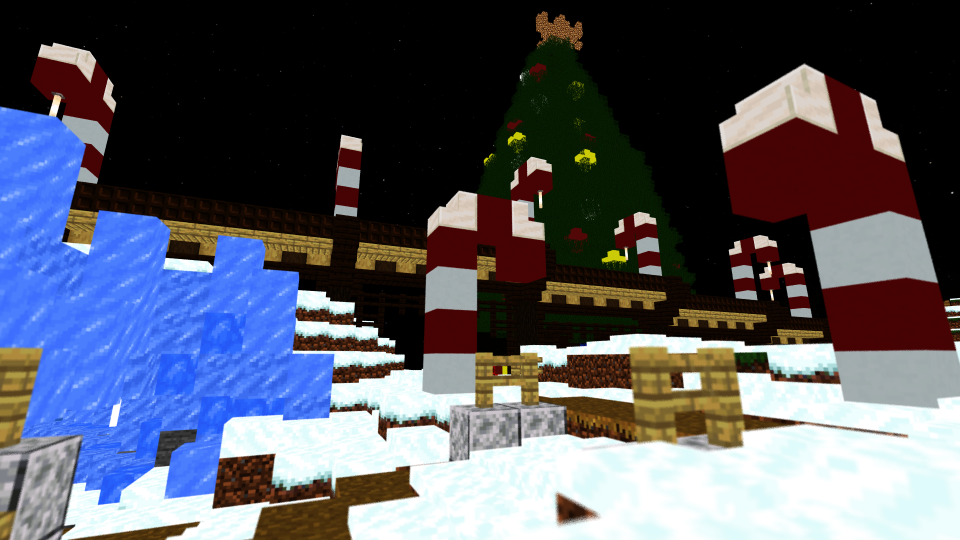
The Albedo map is a feature image that provides the largest quality bump to the denoiser. It’s basically just a representation of the texture information within the scene independant of shading (lighting) or viewing angle. This map tends to help restore texture details.
Normal Map
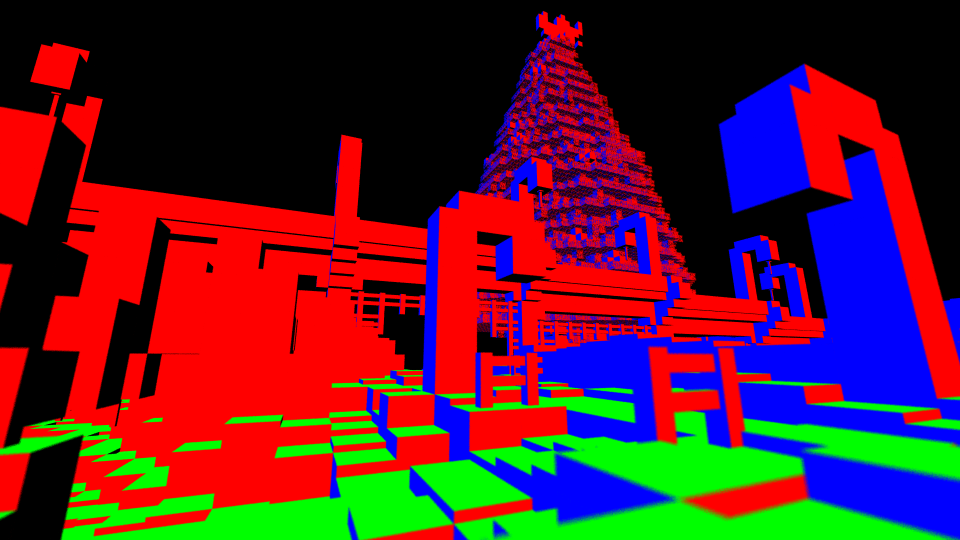
The Normal map is another feature image that can help. In order to use a Normal map you need to provide the Denoiser with the Albedo map first. This map tends to help restore block shape.
Split Pass + AI Denoising
For some scenes where we have access to both Sun/Sky light and Emitters. This technique is… well it is mostly a combinaton of llbit’s Split Pass and AI denoising with a touch of my Multi-plane. The goal of this method is to min-max speed and quality as much as possible.
As many would probably know by now; Scenes which receive most of their lighting directly from the Sun or Sky generally do not require SPPs past 1000 SPP, and often work fine with 64-256 SPP, unlike scenes with emitters that can require 8000 SPP or more. Subjecting the whole scene to an AI based denoiser when it is not necessary is what this combination technique aims to solve.
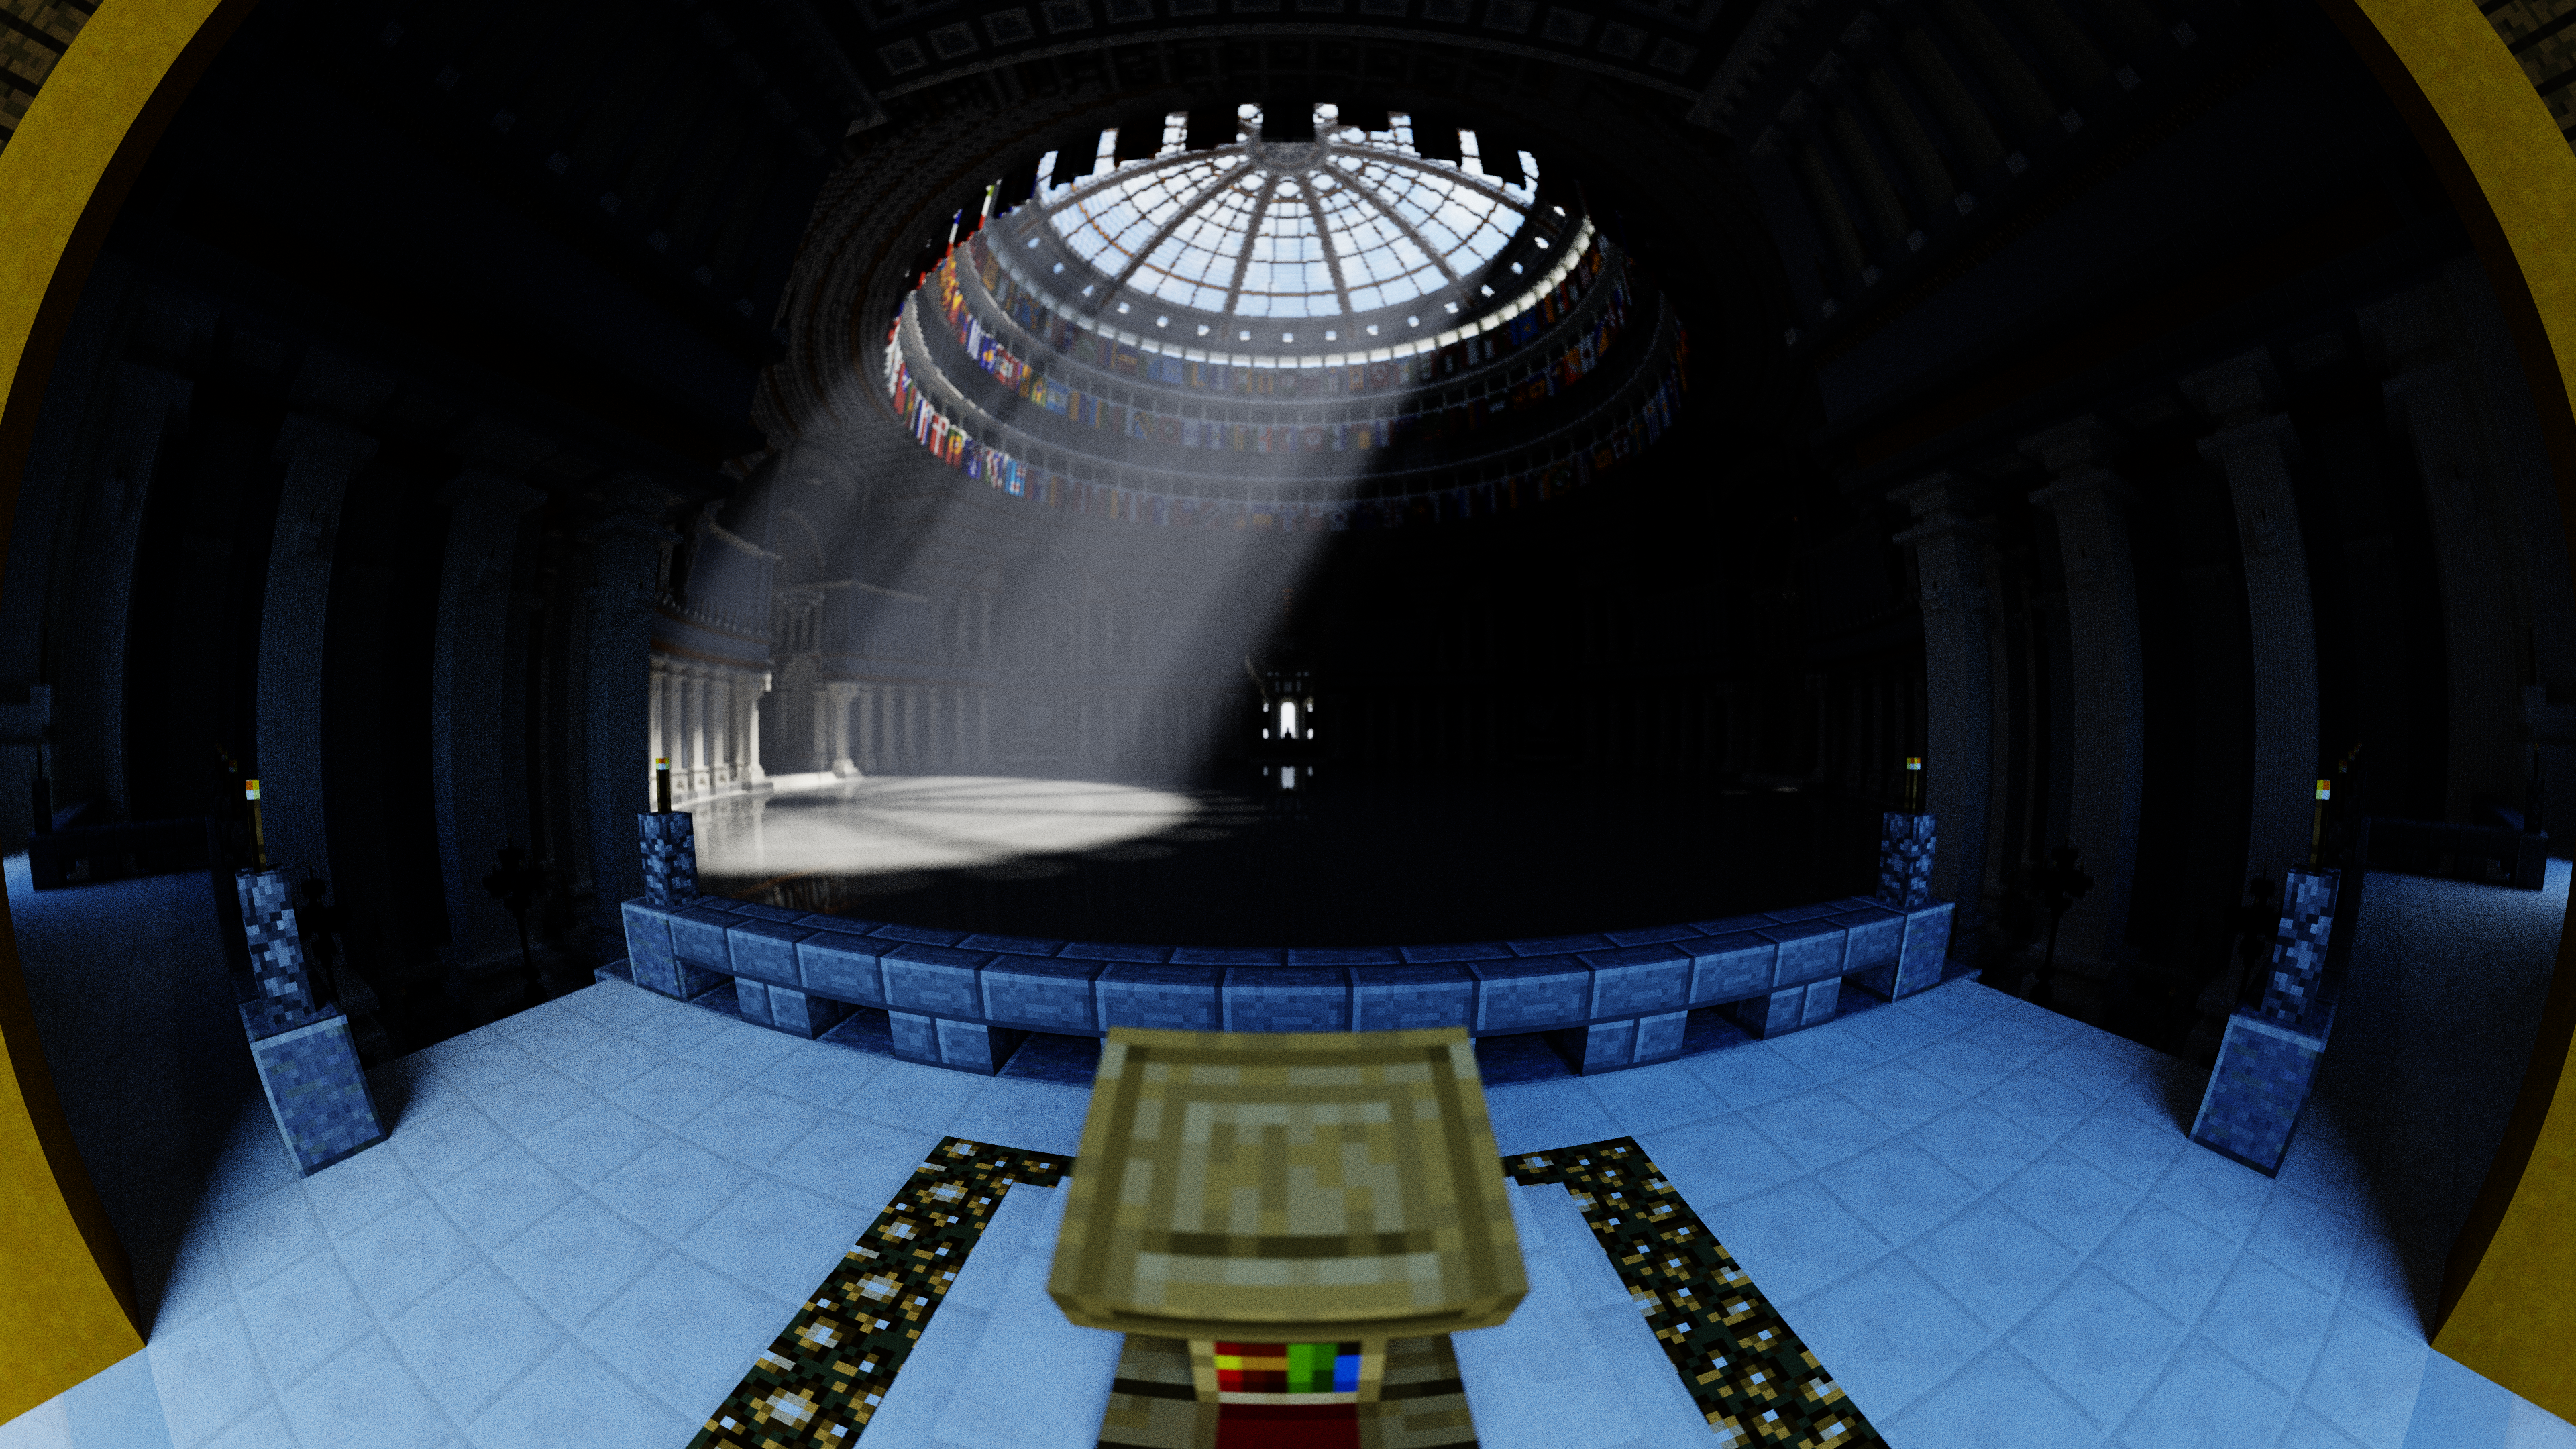
We take llbit’s Split Pass Denoising and instead of feeding the emitter pass through a simple Gaussian blur we use an AI based denoiser like Nvidia Optix or OIDN. Given the Sun, Sky, and Fog pass is not put through the denoiser any fine details or grain from this pass will be kept. This is most noticeable when looking at the fog as this tends to be heavily blurred by AI Denoisers. Any part of the scene that does not receive lighting from the Sun, Sky, and Fog pass but instead is lit from the emitter pass will still unfortunately be subjected the the pitfalls of the AI Denoiser. However, given that we can reduce the number of chunks loaded for this pass, and that we do not need to deal with fog, it should be possible to achieve a high SPP relatively quickly.
Put simply: Render the Sun, Sky, and Fog in one pass. In another pass render the emitters and denoise them with an AI base denoiser like Open Image Denoise or Nvidia Optix. These two passes can be combined using GIMP by setting the layer mode to Screen.
Example 1
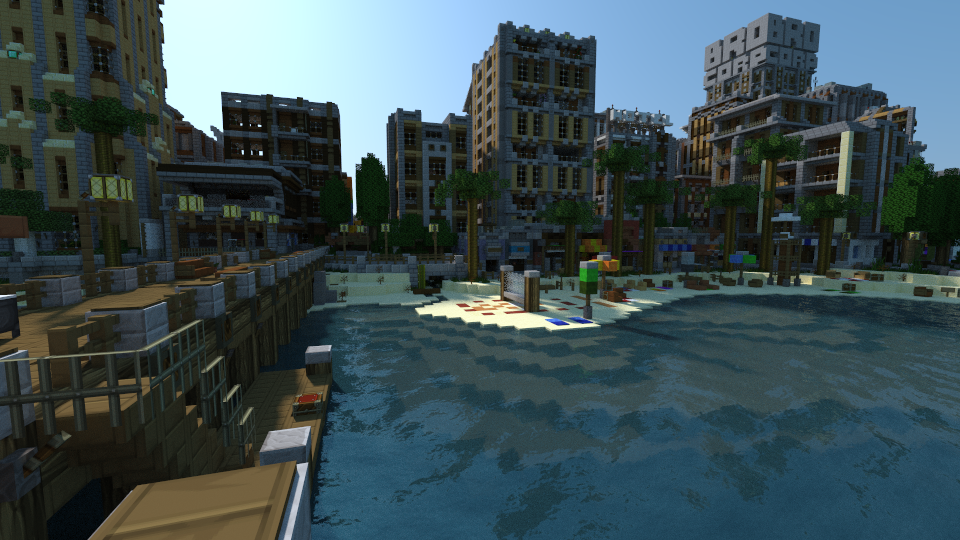
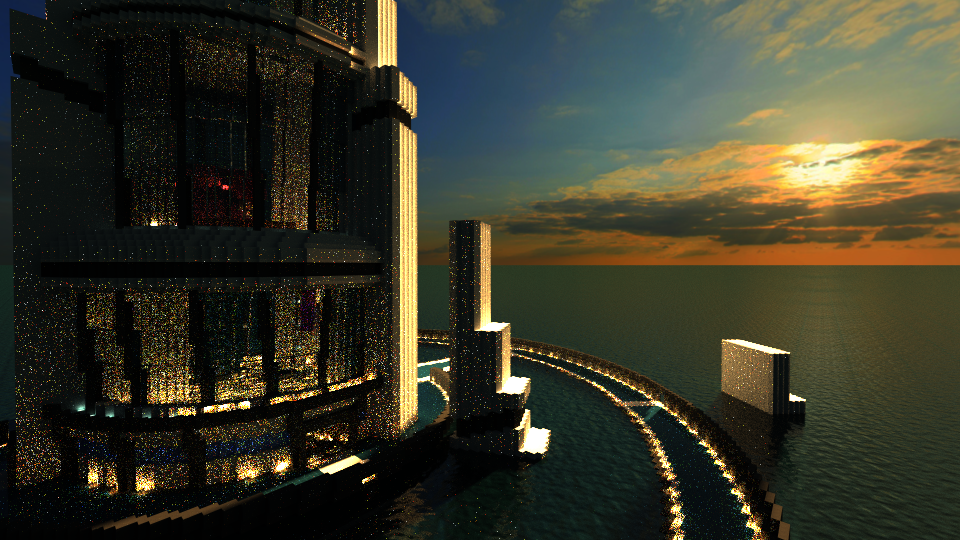
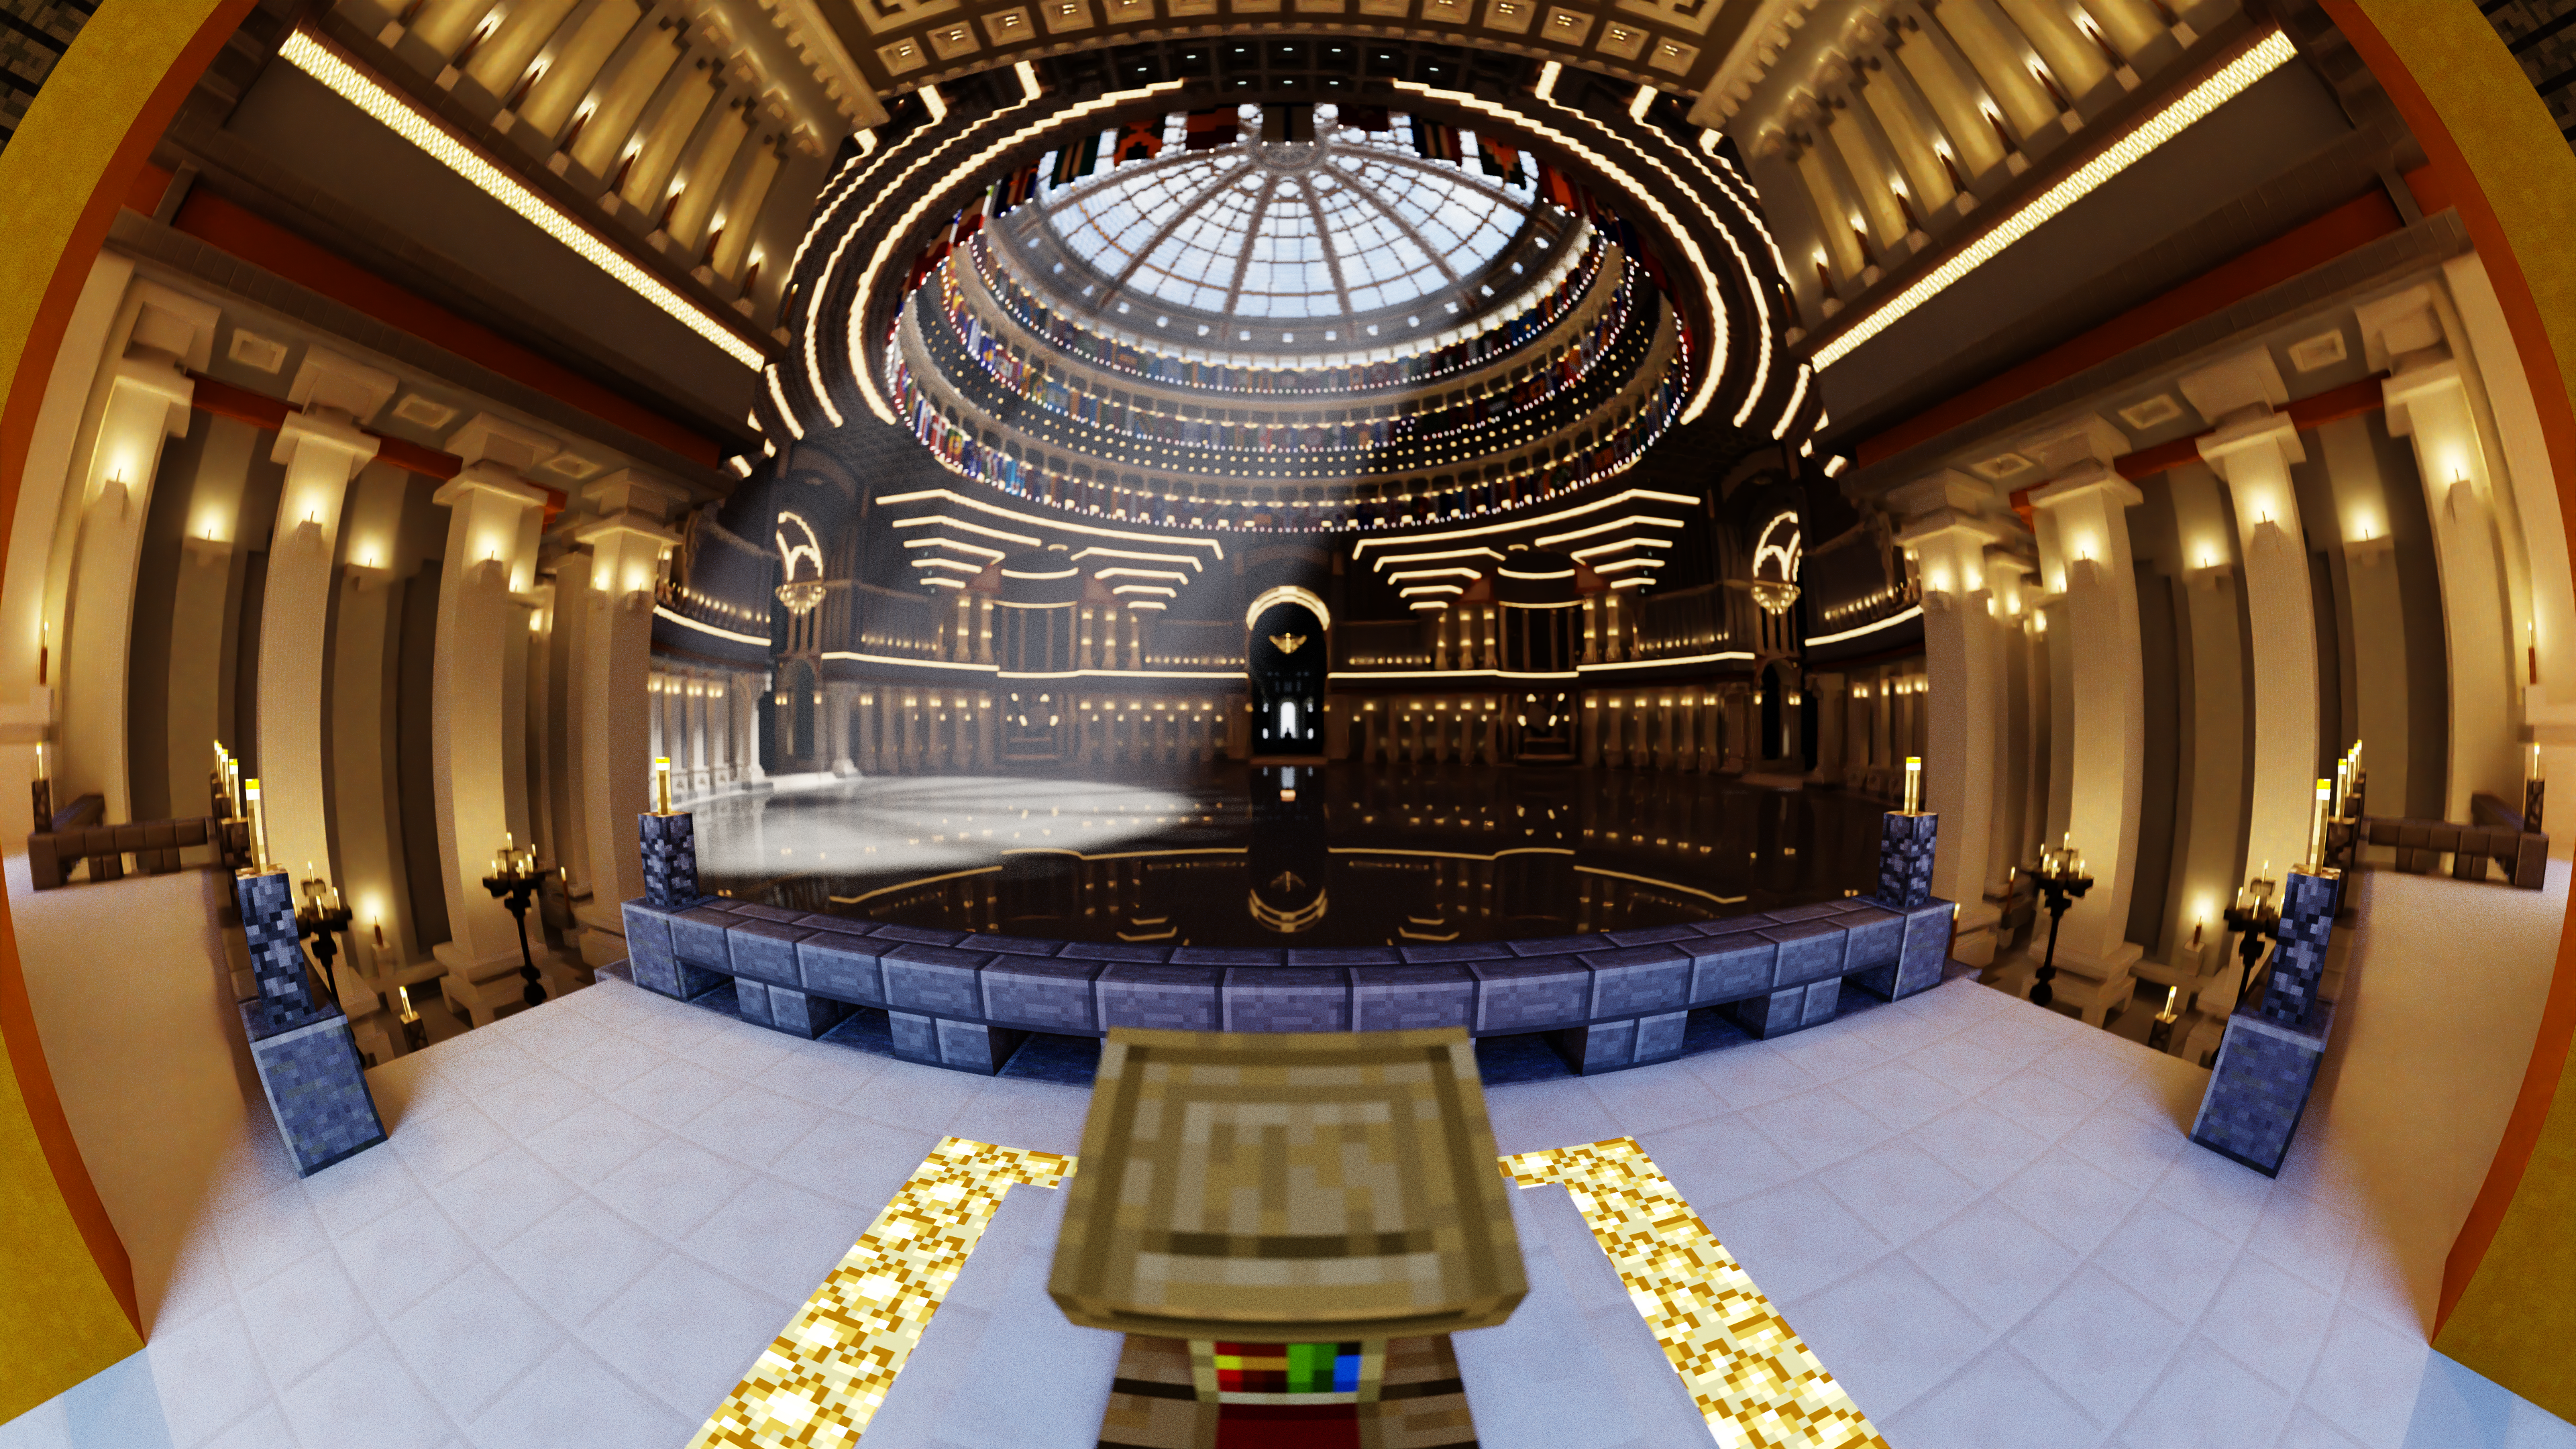
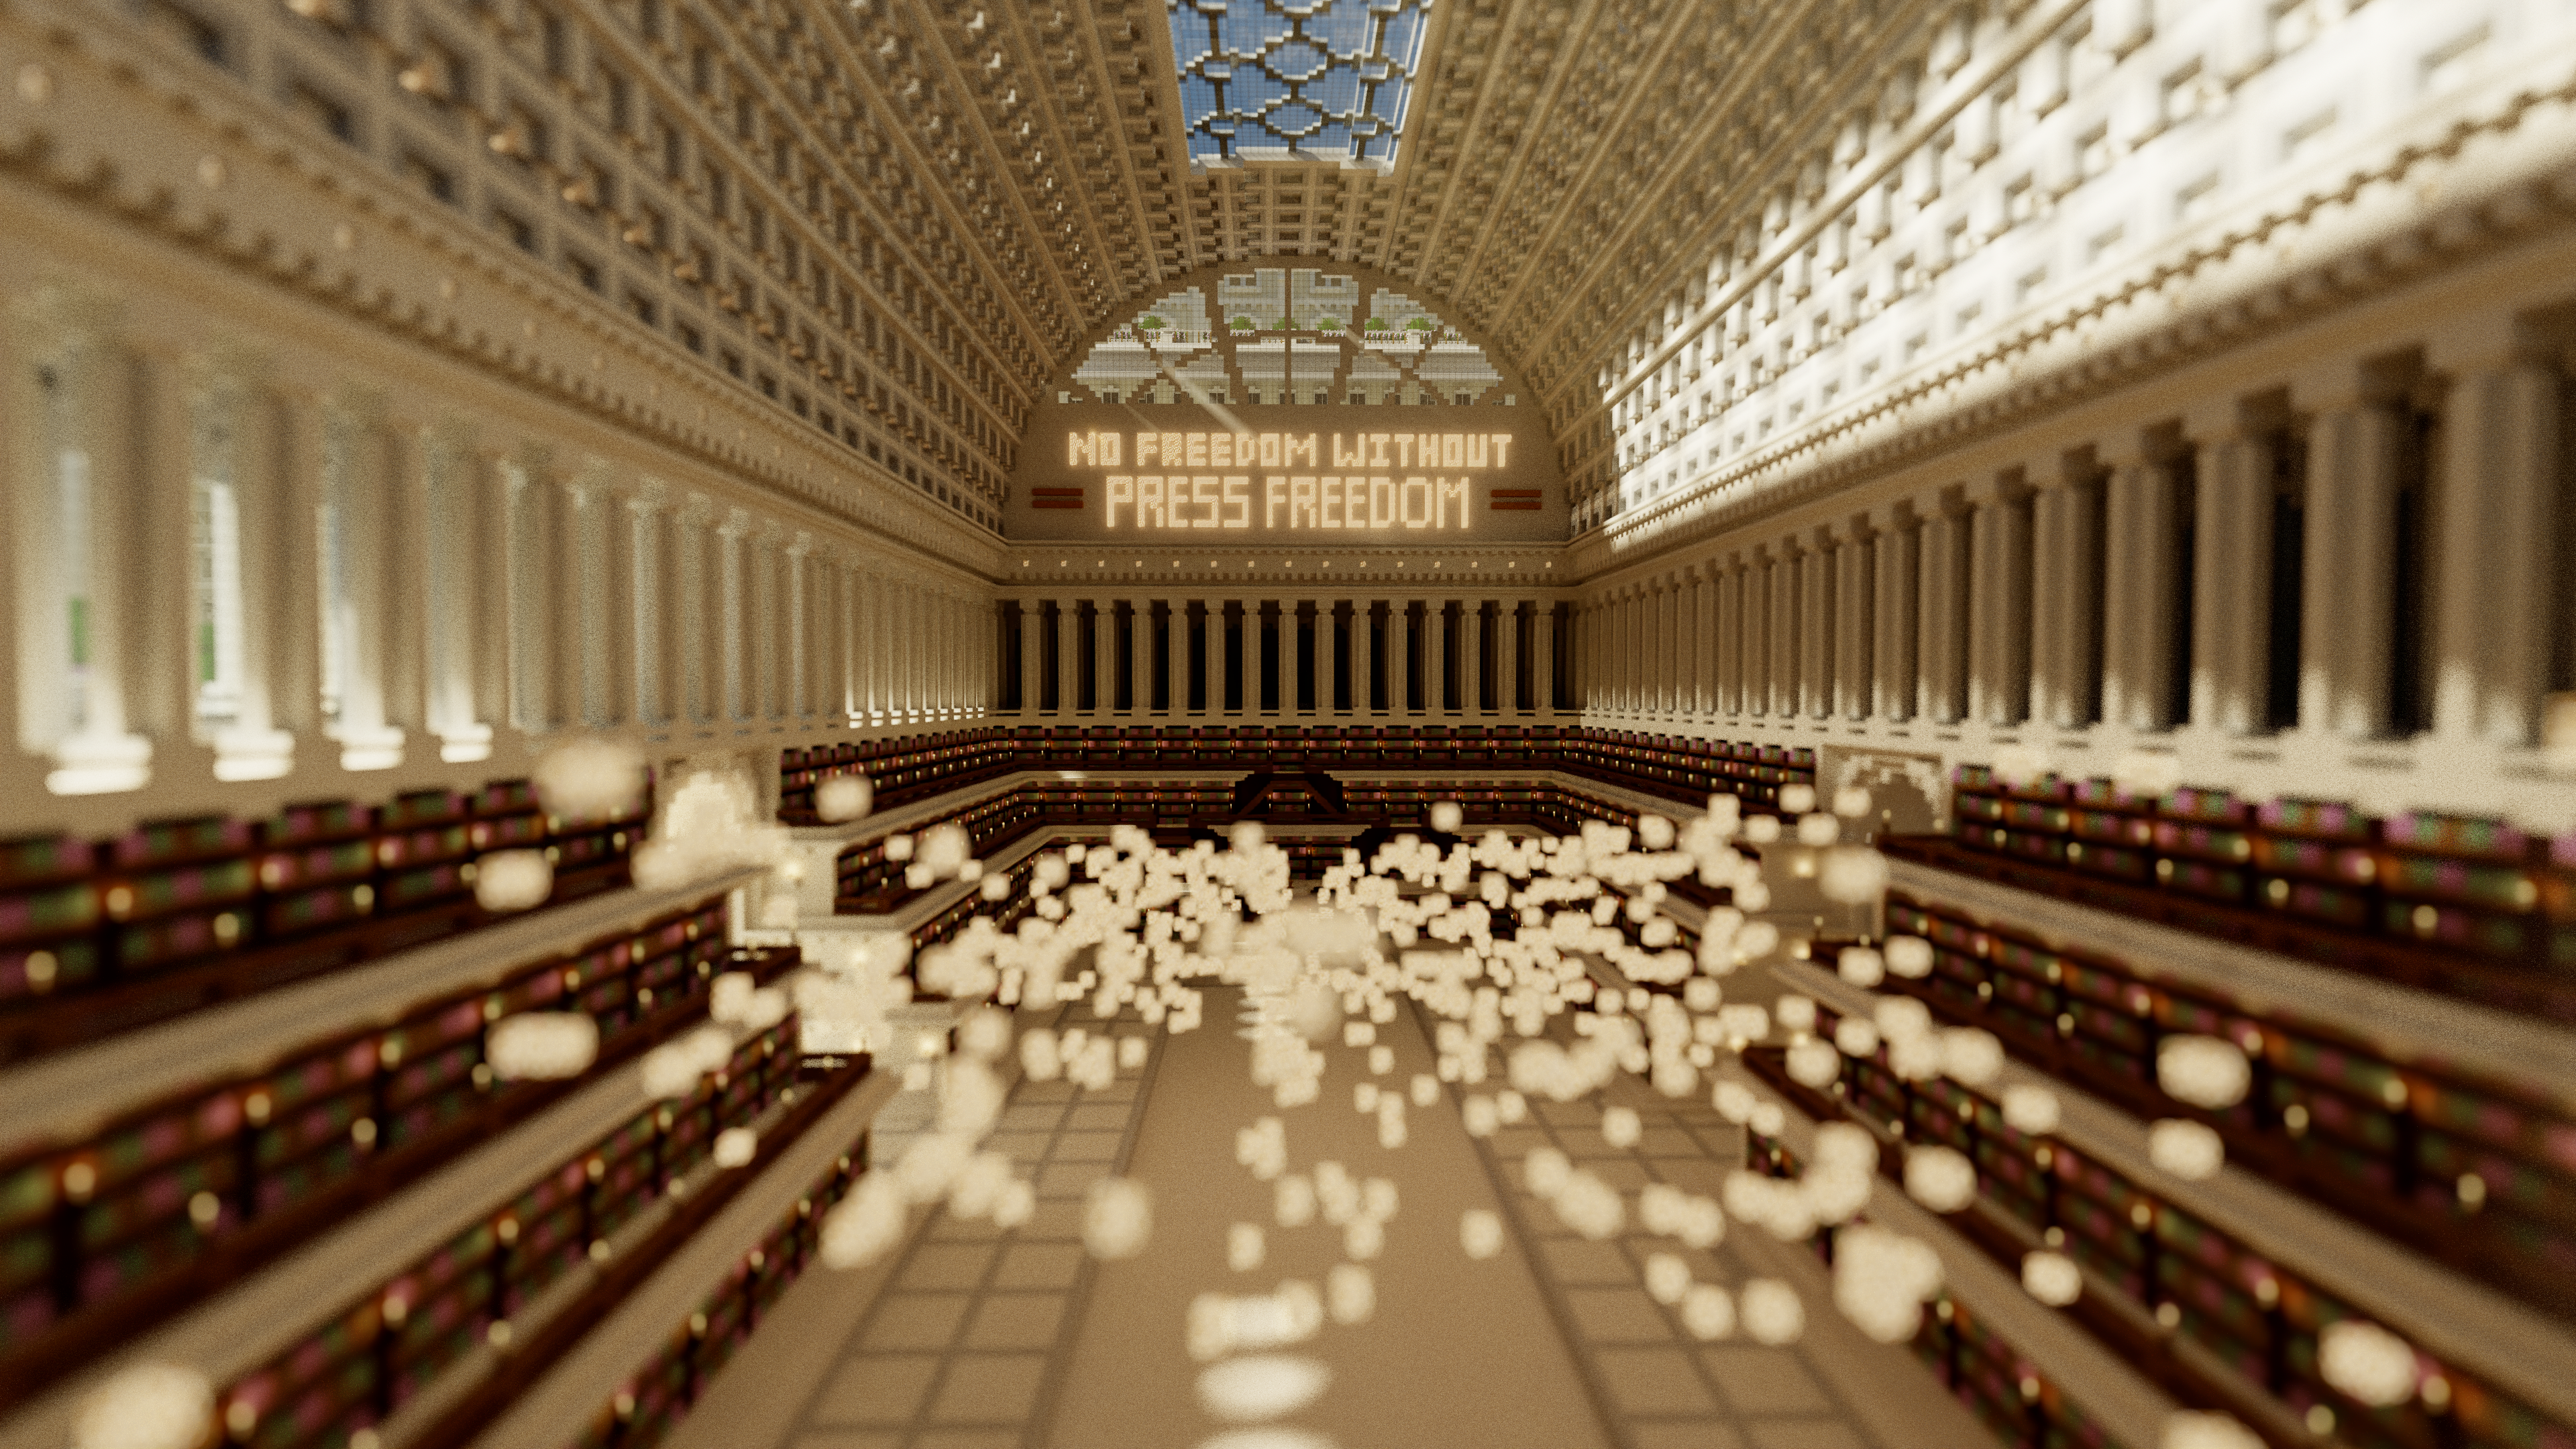
Sun + Sky + Fog Pass at 256 SPP
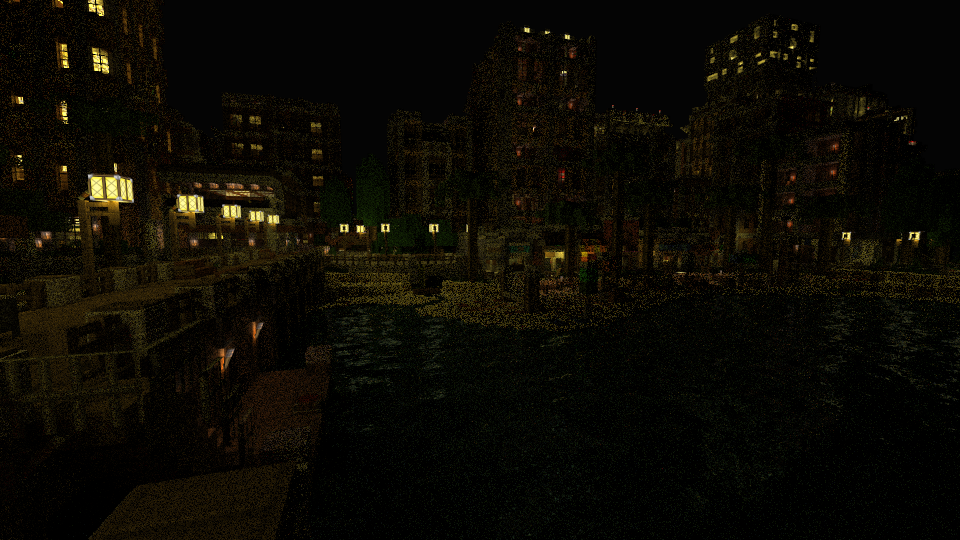
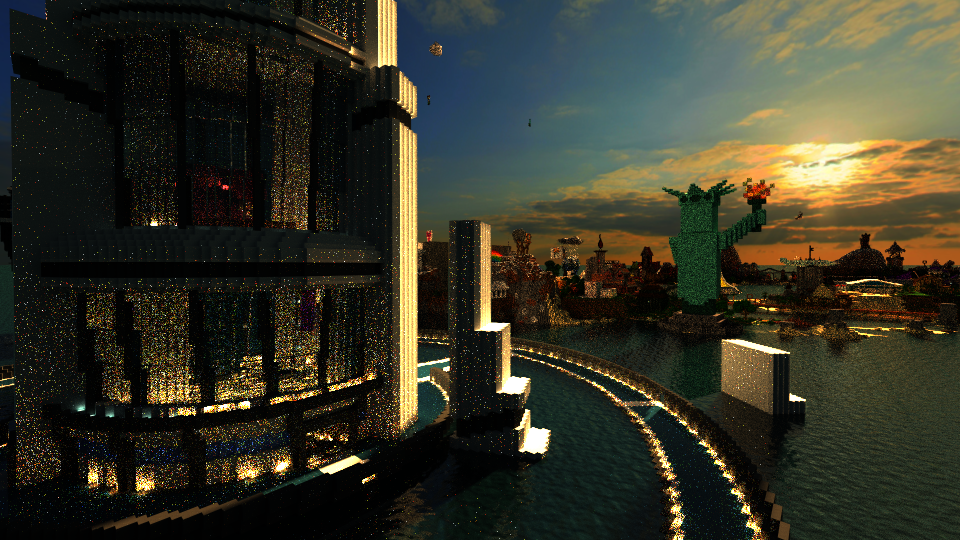
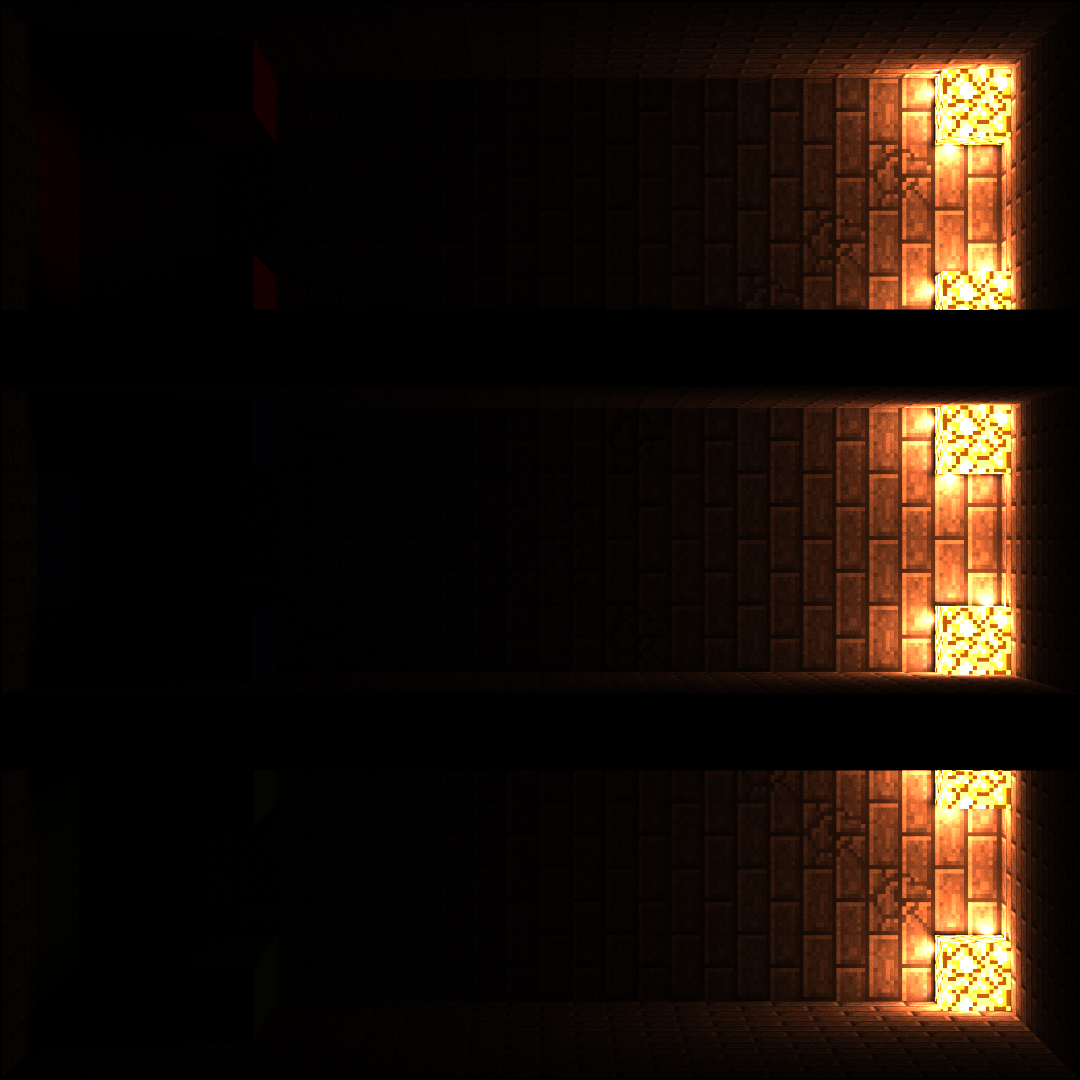
Raw Emitter Pass at 2048 SPP
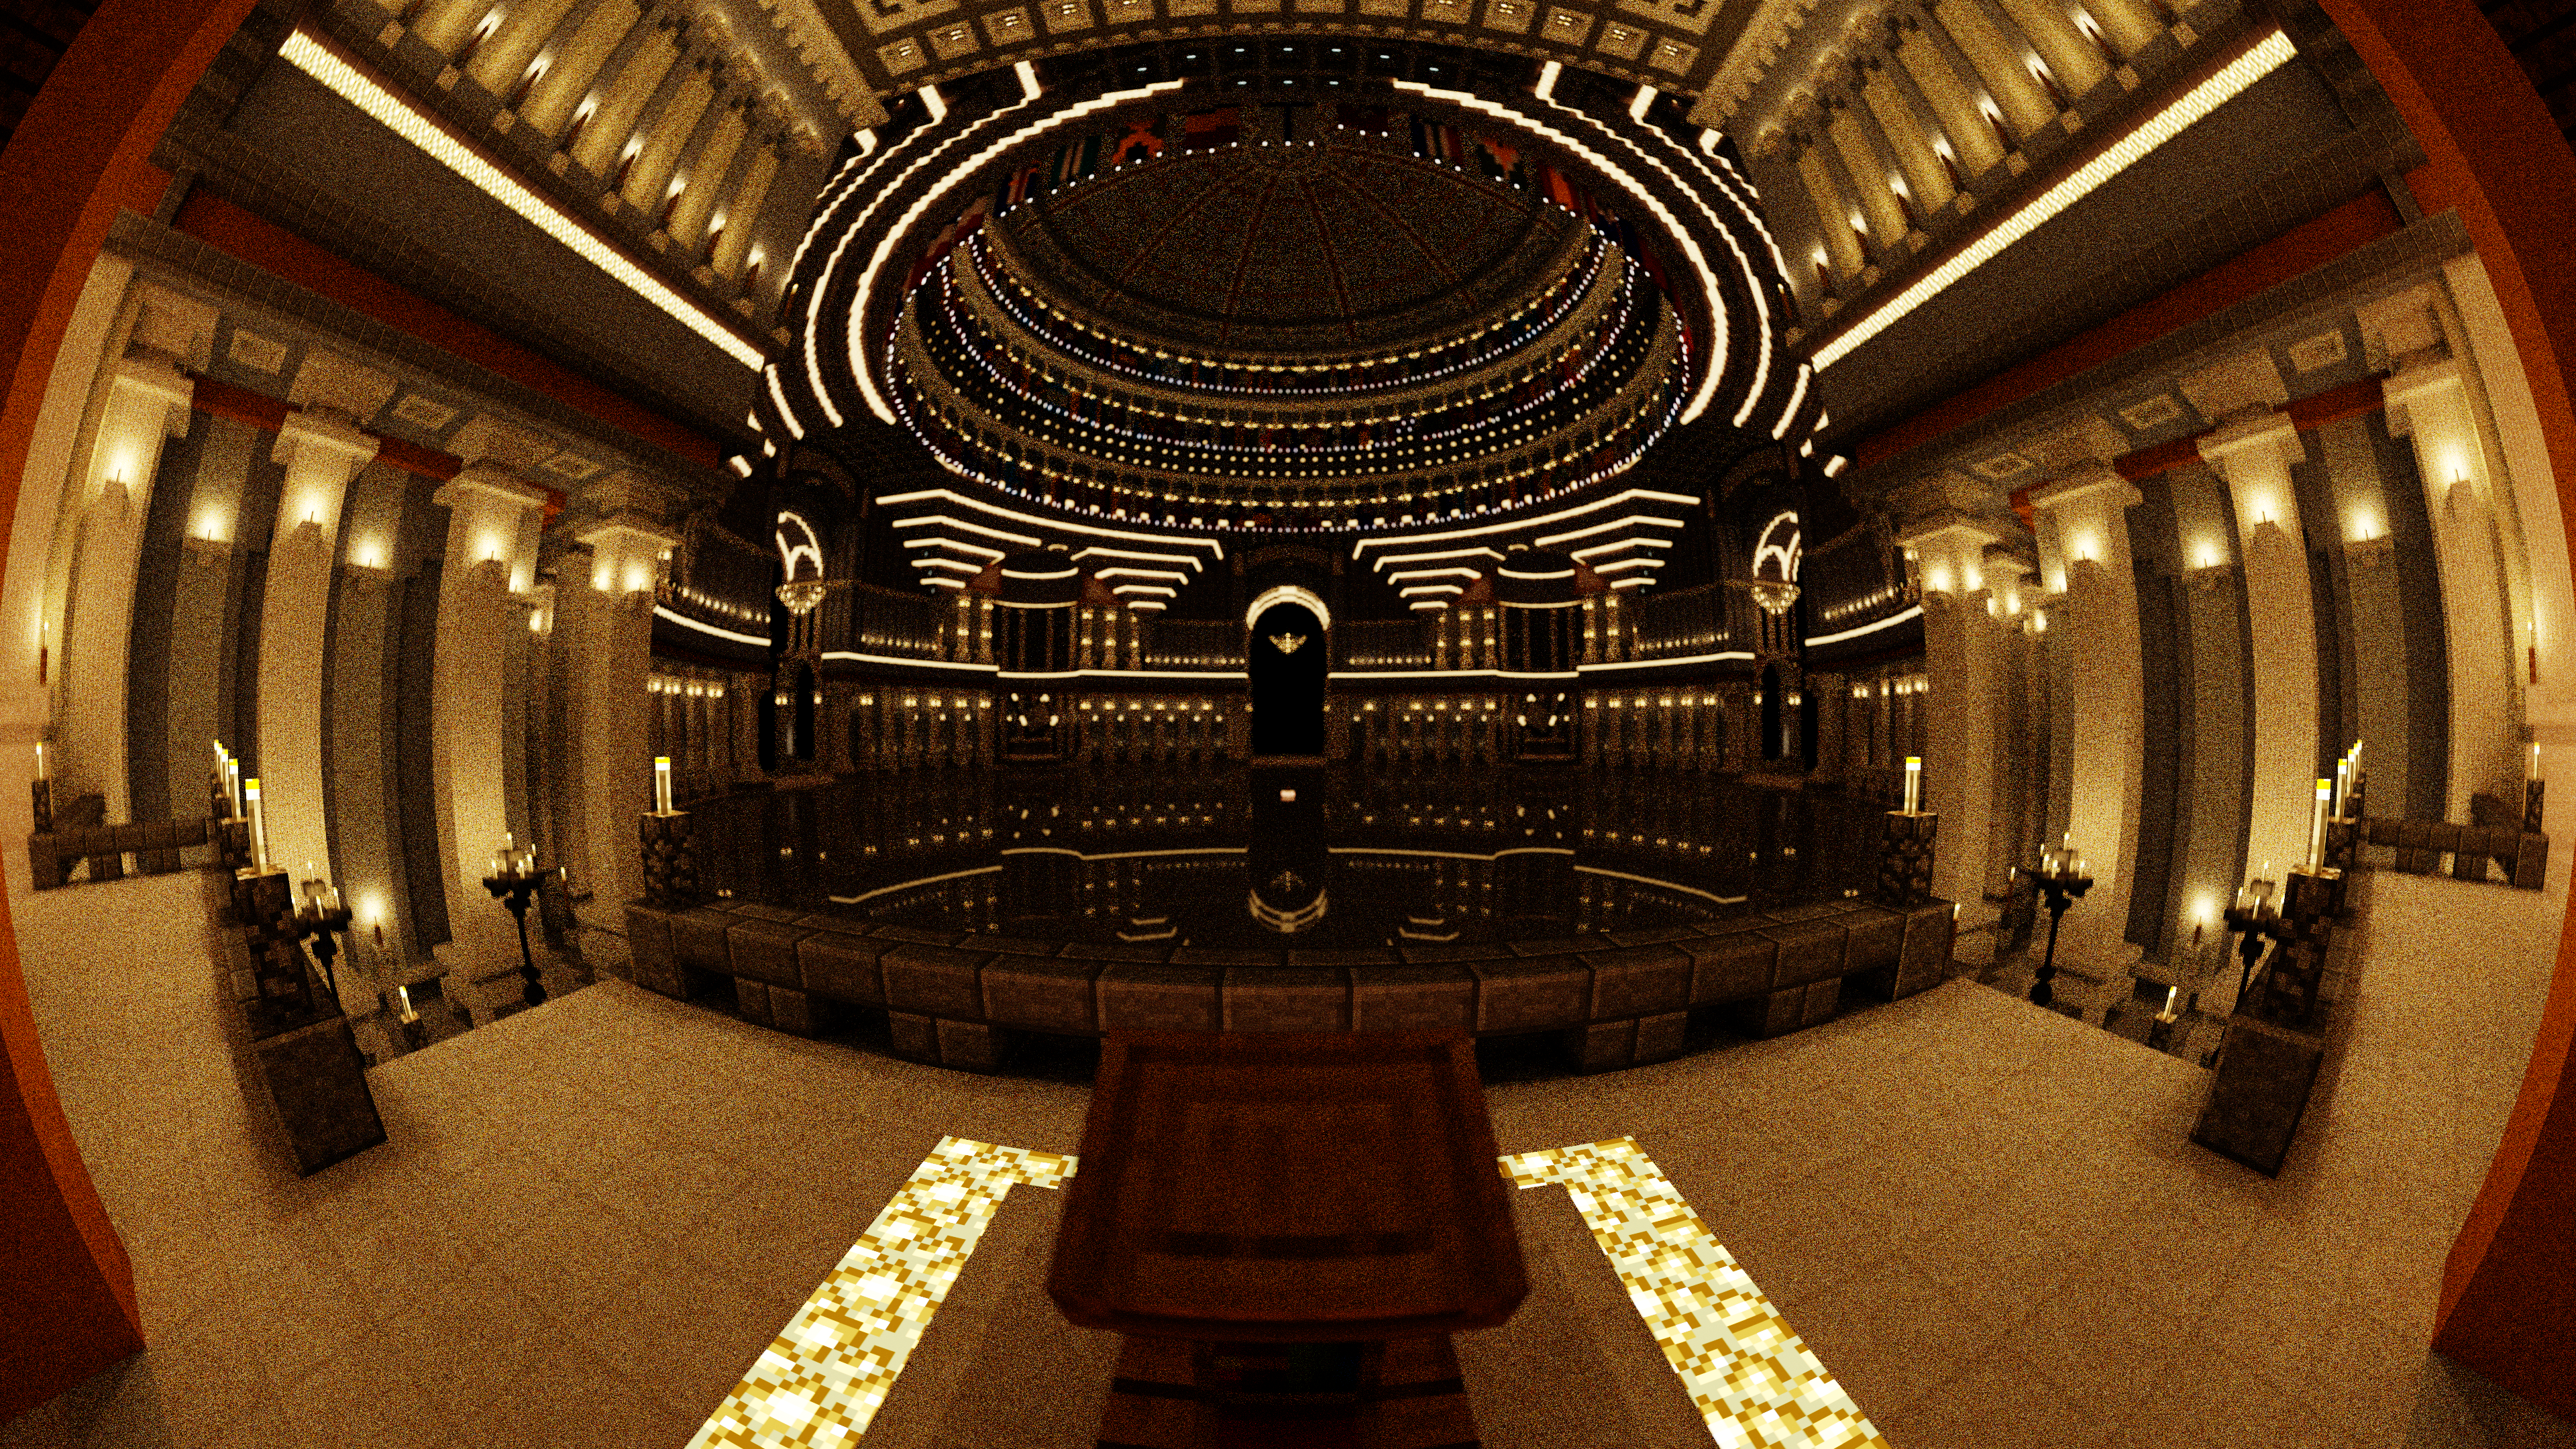
AI denoised Emitter Pass
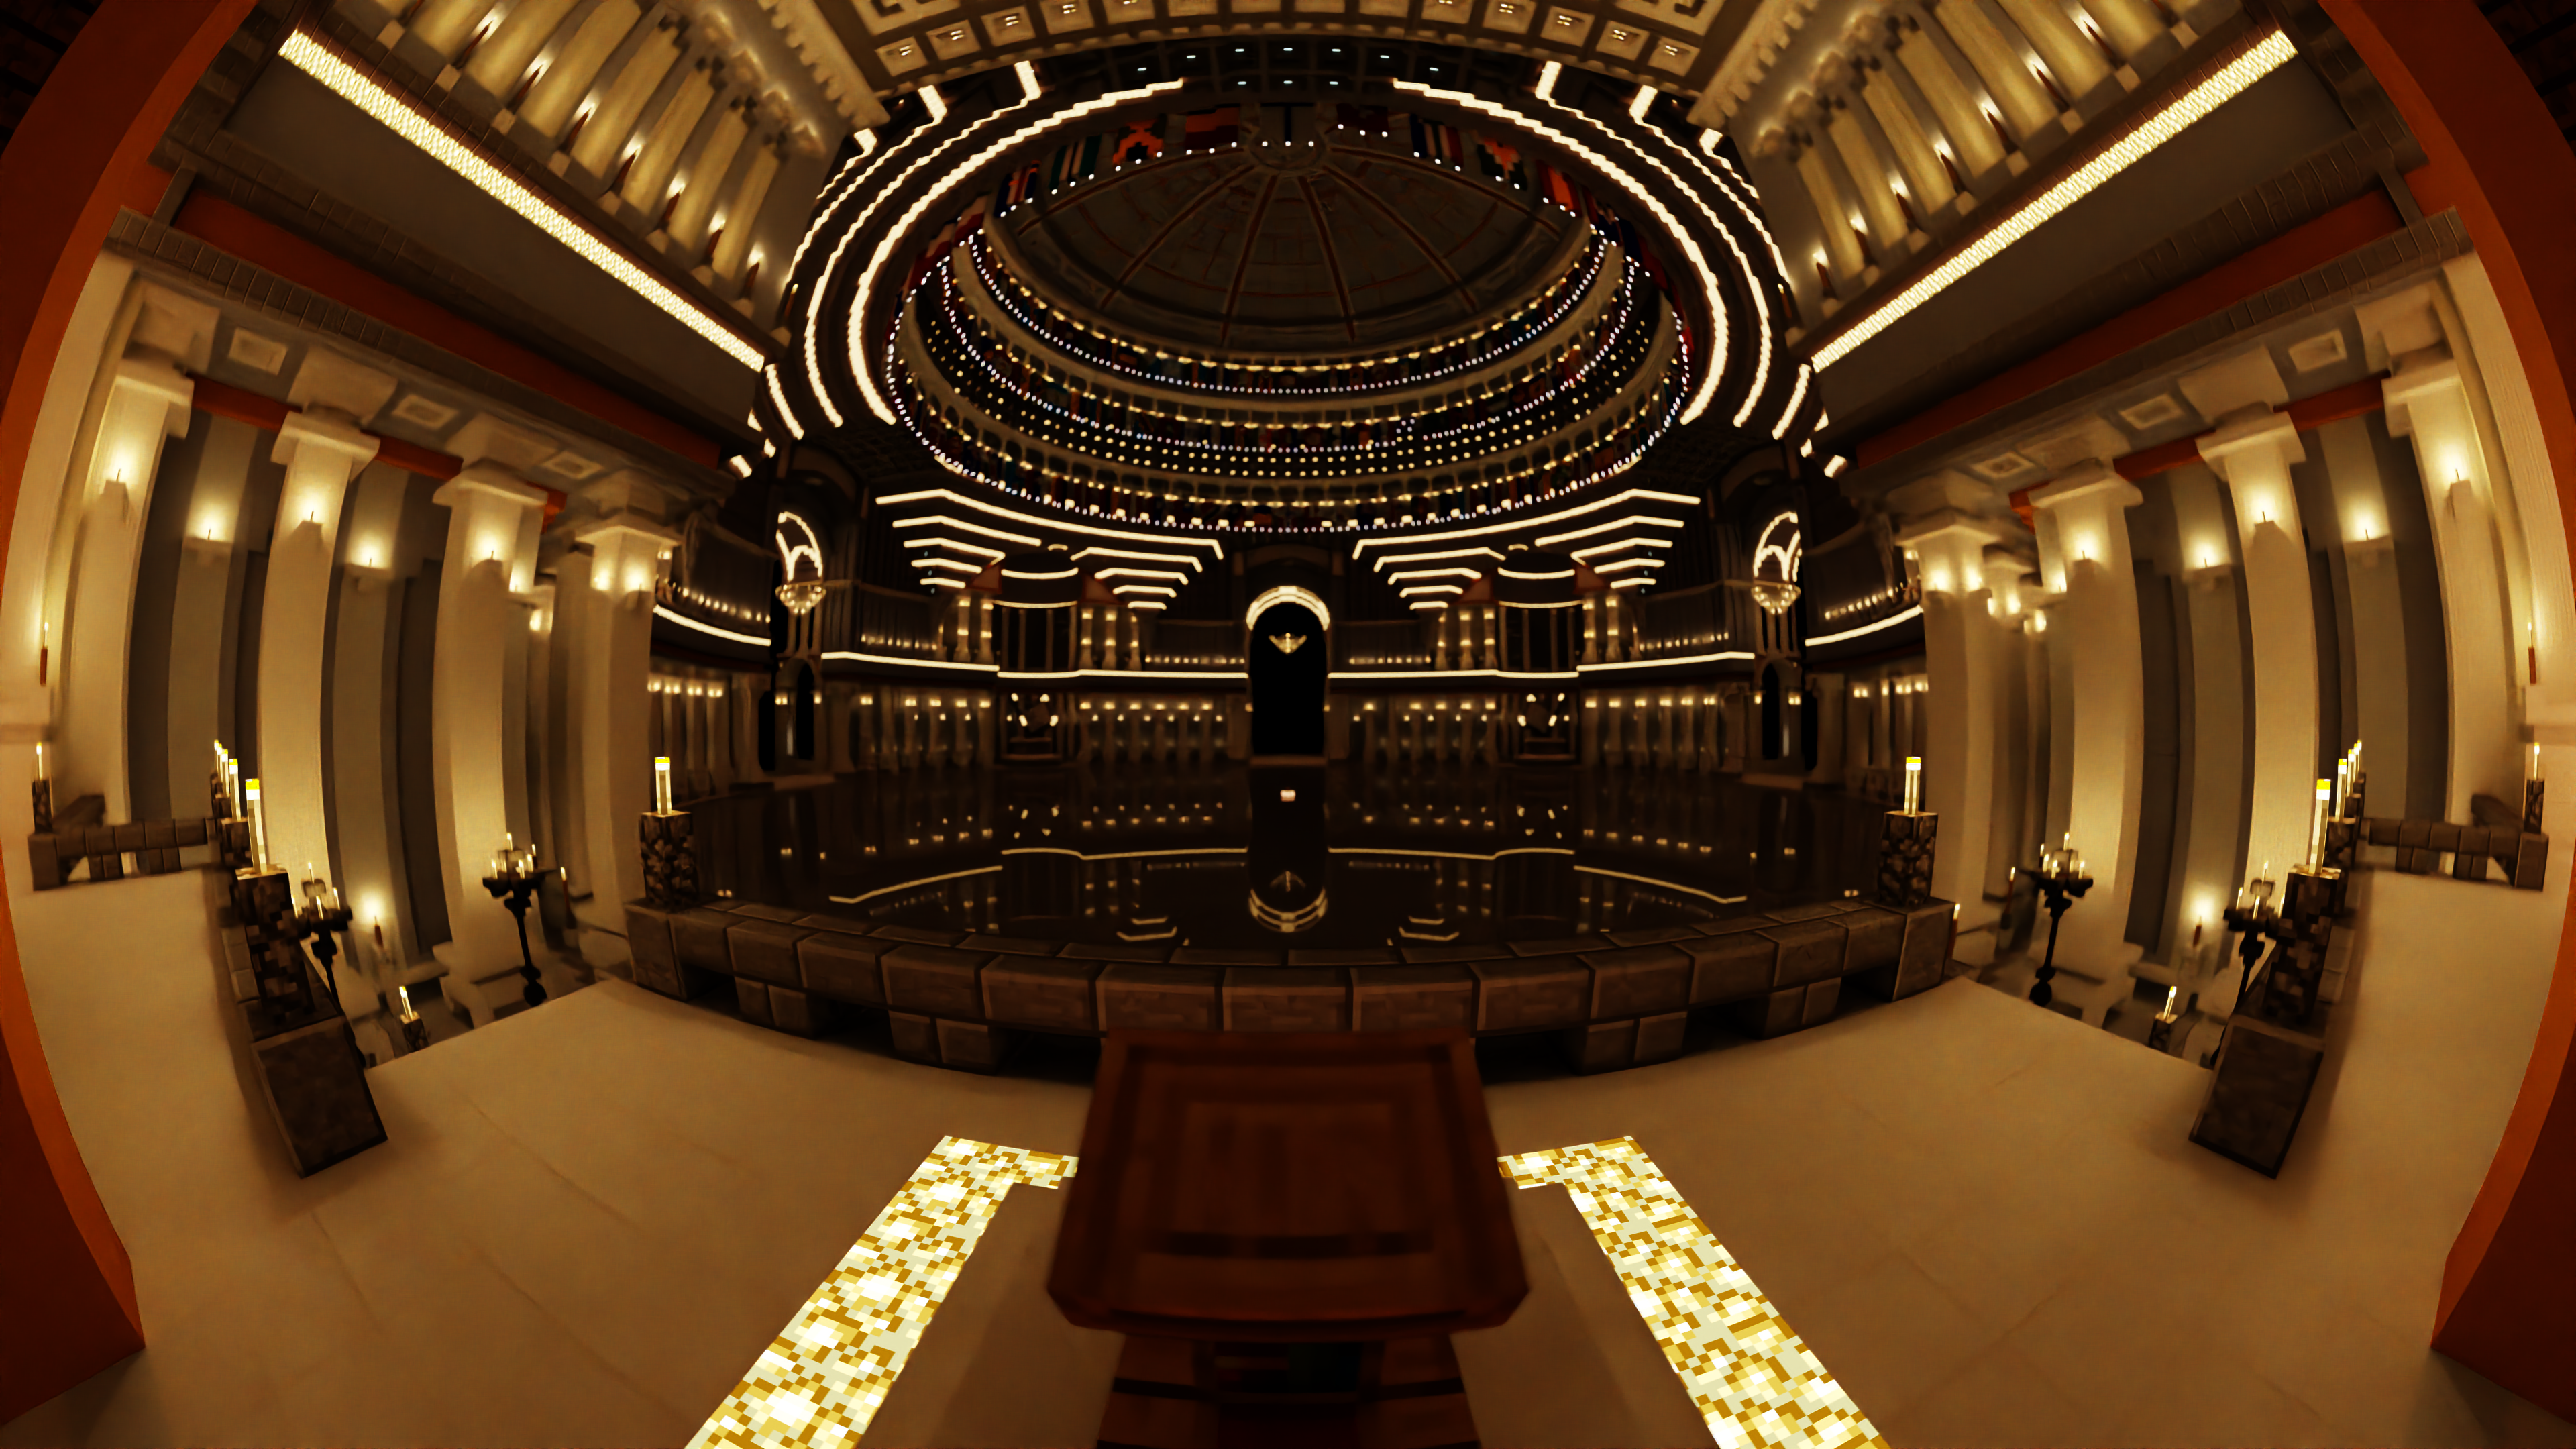
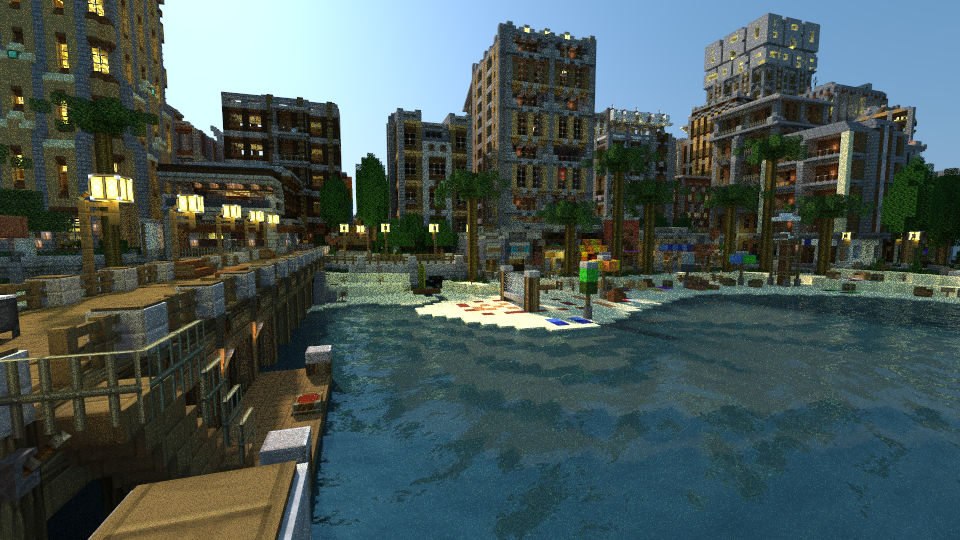
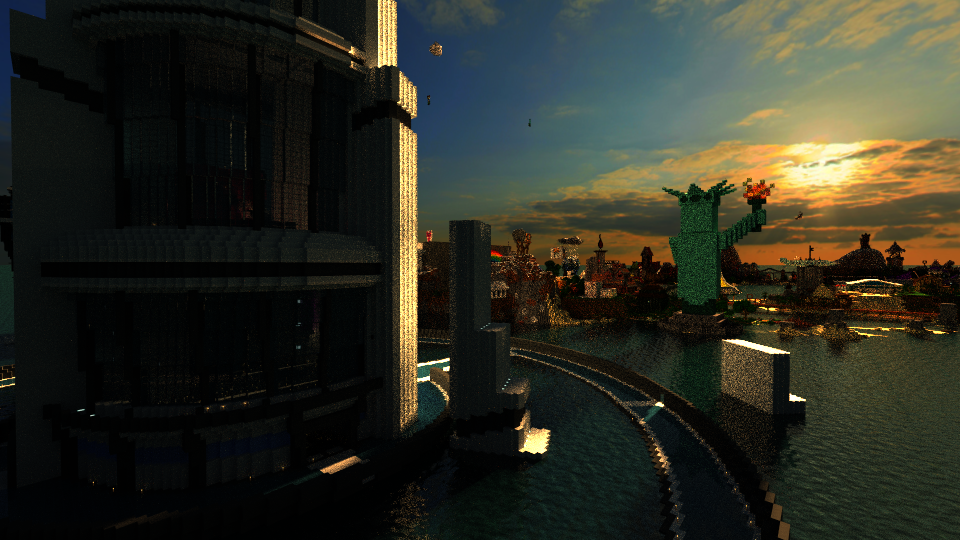
Combined SSF + E_dn using GIMP and layer mode set to screen
Example 2
Sun + Sky + Fog Pass at 256 SPP
Raw Emitter Pass at 2048 SPP

AI denoised Emitter Pass

Combined SSF + E_dn using GIMP and layer mode set to screen
A simple proof of concept with Layer mode: Screen
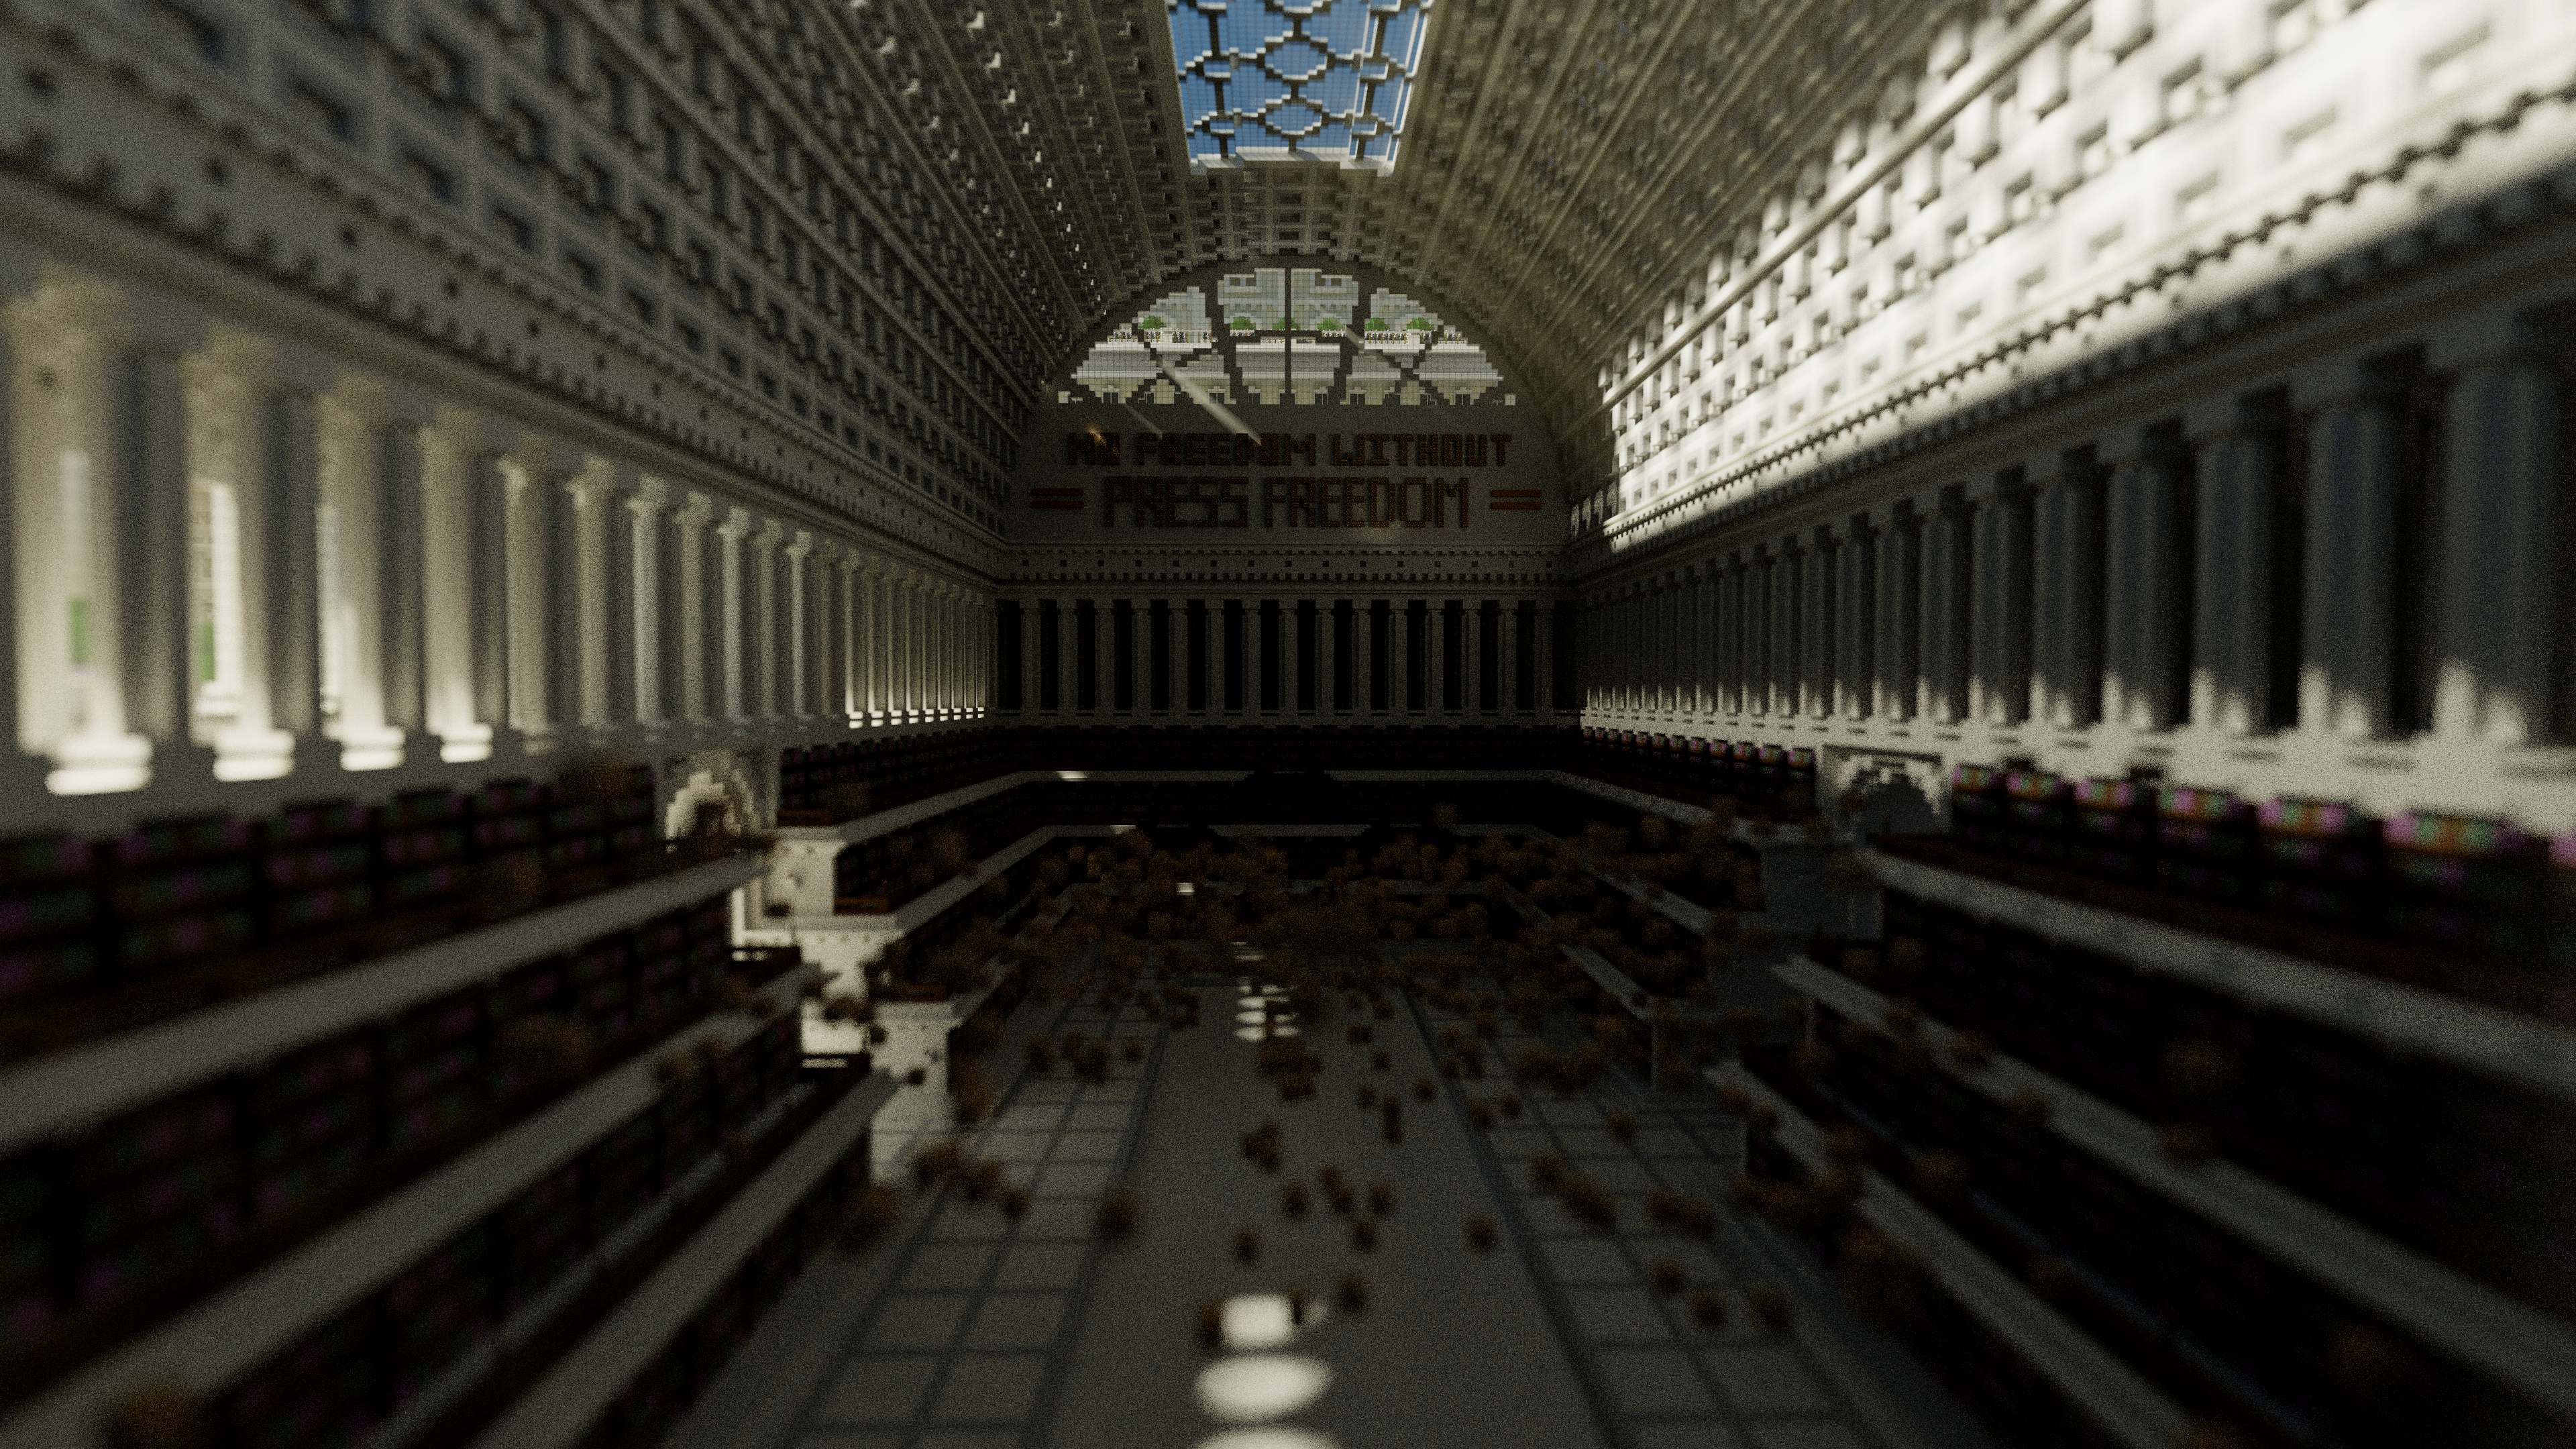
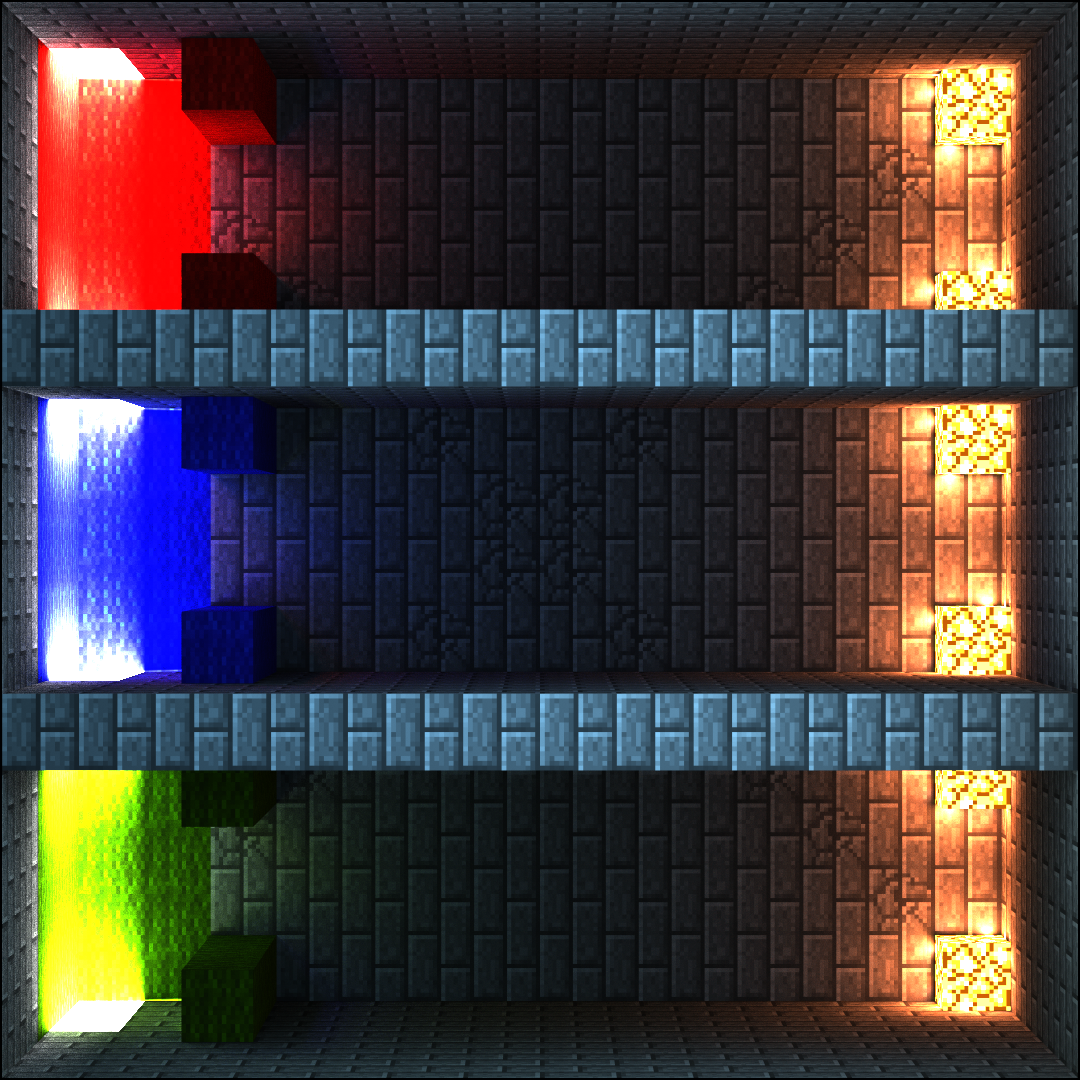
Below is a showcase of further subdividing light sources into different passes and the combined composite VS a typical render. This is merely to showcase that splitting render passes and combining in post can produce equivalent results to a more typical render. Of course subdividing a scene into this many passes and rendering to such a high SPP is not required for Split Pass + AI Denoising.
| Sun pass | Sky pass | Emitter pass |
|---|---|---|
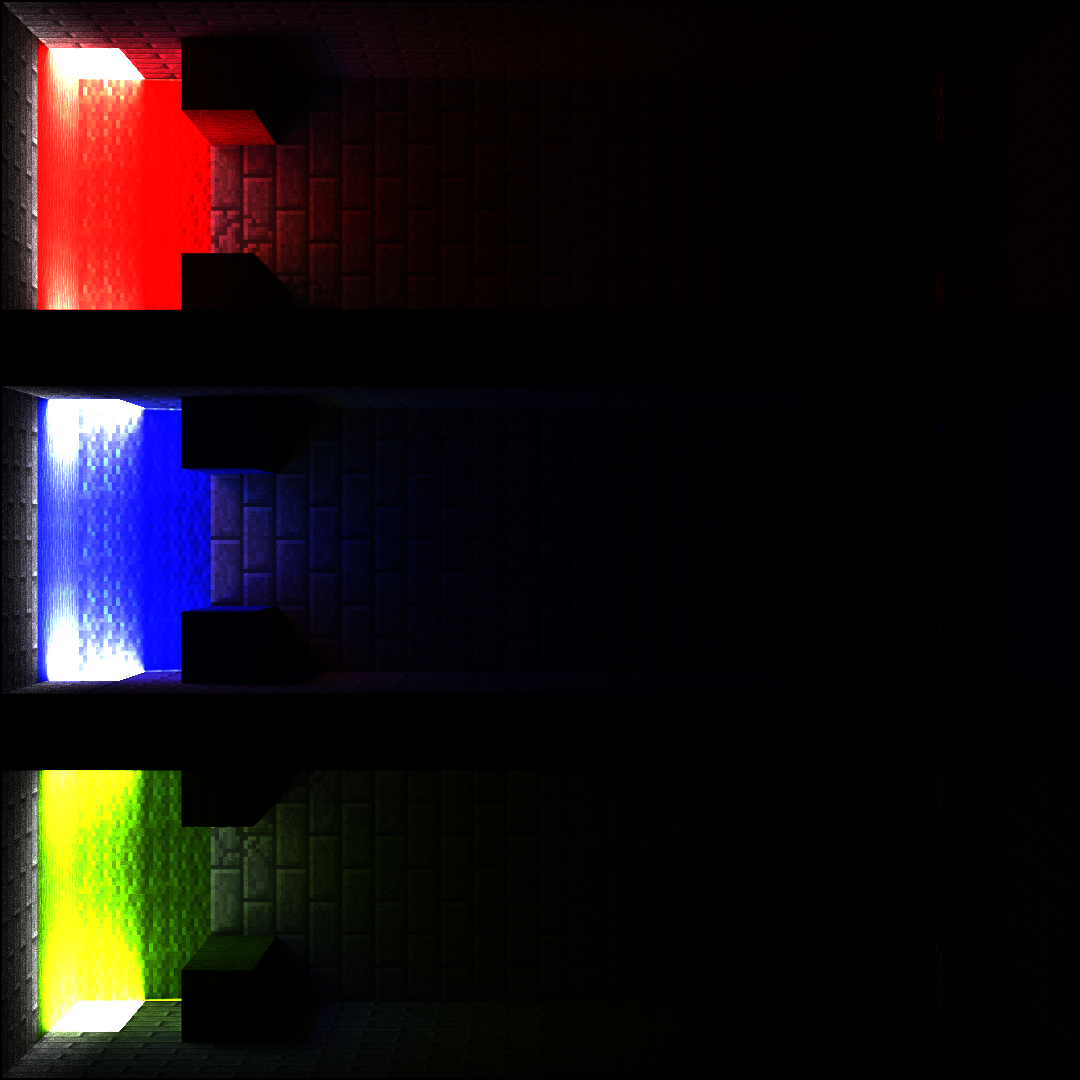 | 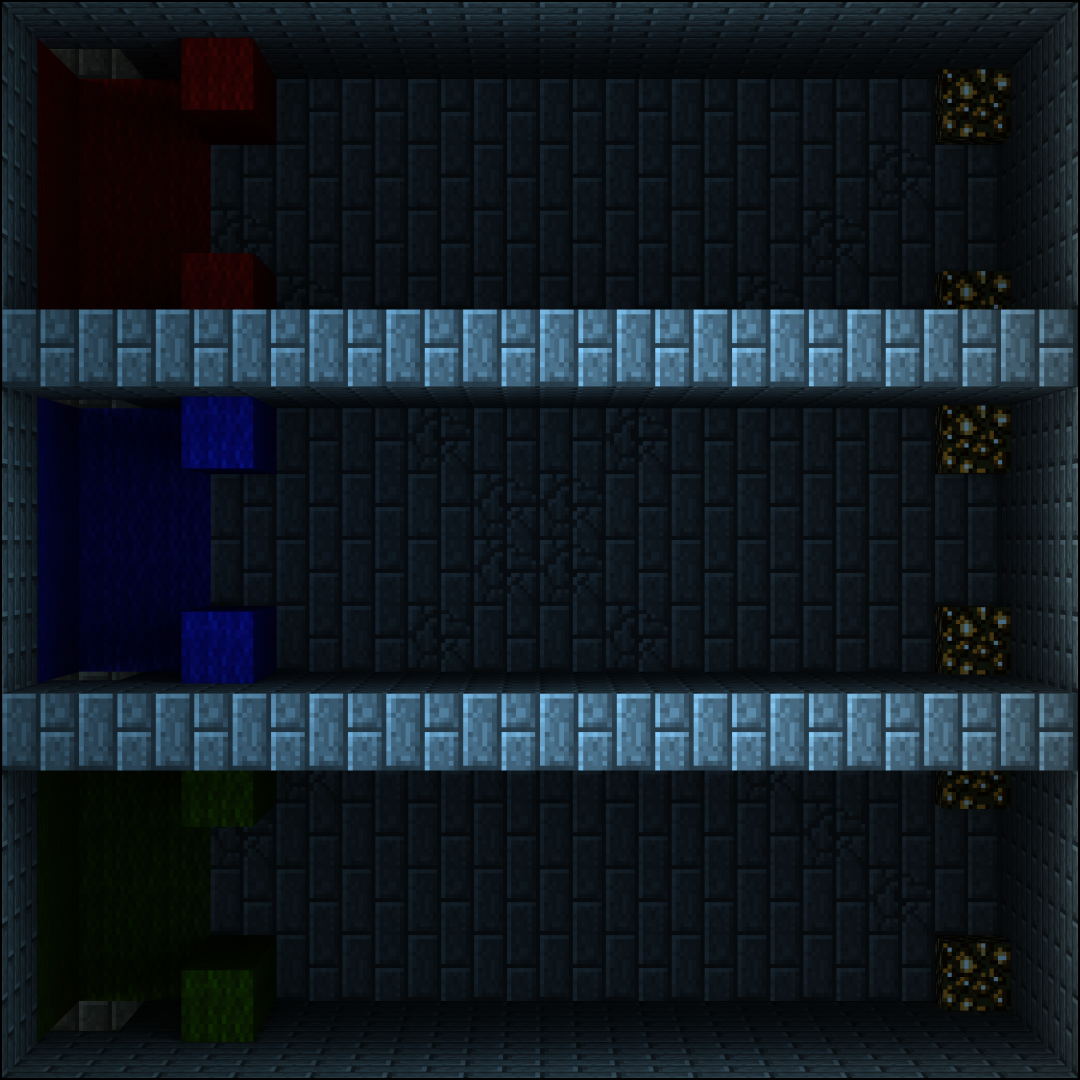 |  |
| SSE_Comp | Typical bake | |
 |  |